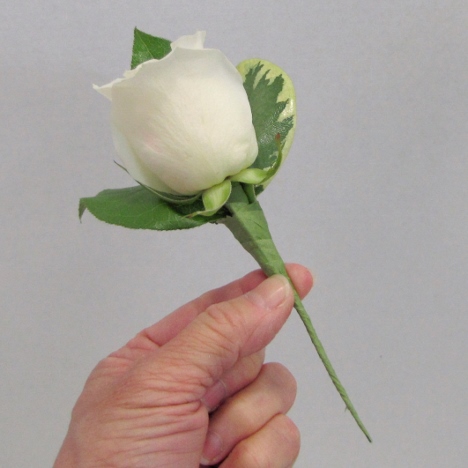
White Rose Boutonniere
I'm going to tape two of the leaves together, placing the smaller one higher and bending the larger leaf off to the left.
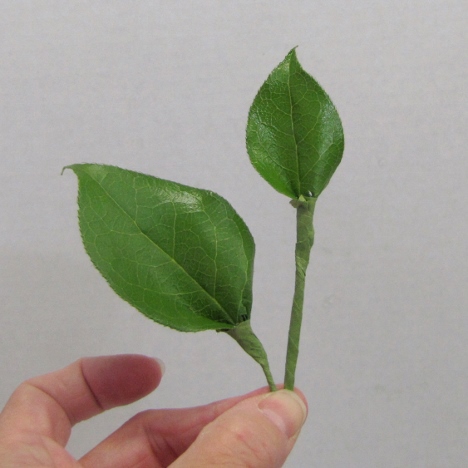
Bend and twist the wire stems until the leaves are exactly how you want them.
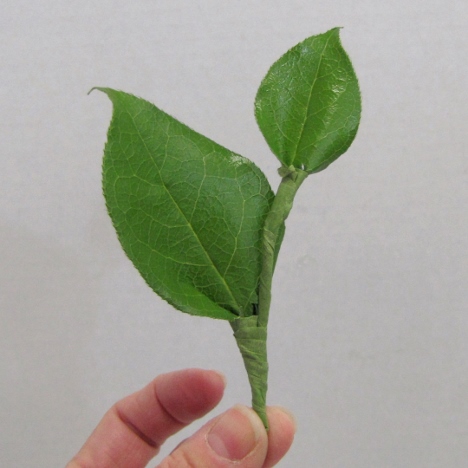
Take the pair of salal leaves that you wired and taped in the previous step and place them on the back of your white rose boutonniere.
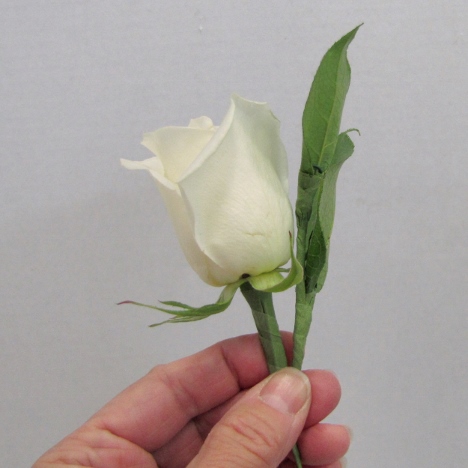
The leaves should peek out slightly above and to the side of the rose head.
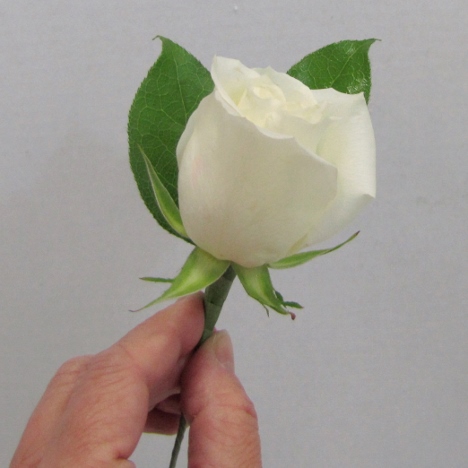
Tape the wired leaf stem to the wired rose stem with corsage tape.
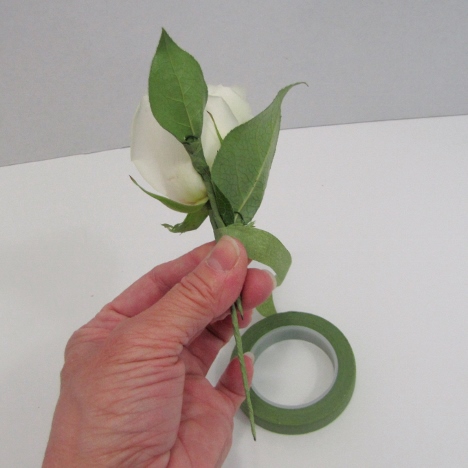
You'll begin to see how your design becomes much more interesting and pretty with the additional of different types of greens and filler.
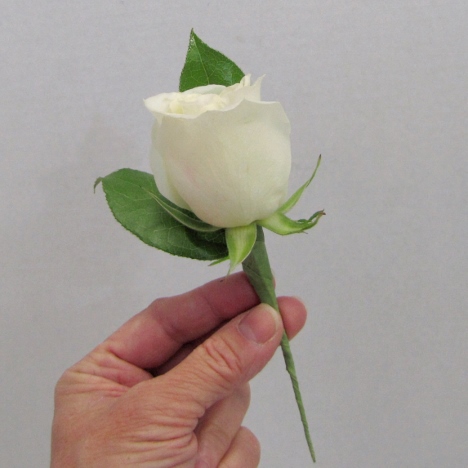
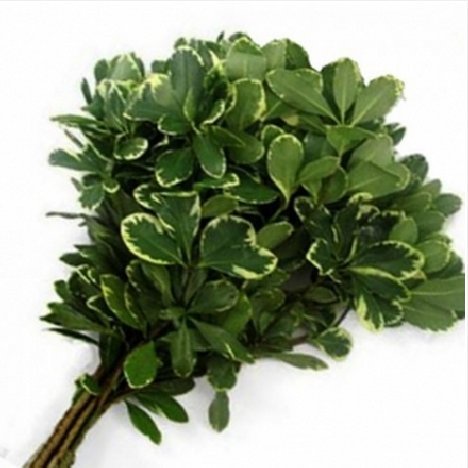
I love the unique look of pittosporum leaves and the beauty they add to corsages and boutonnieres! This greenery comes in both solid green and variegated as shown below.
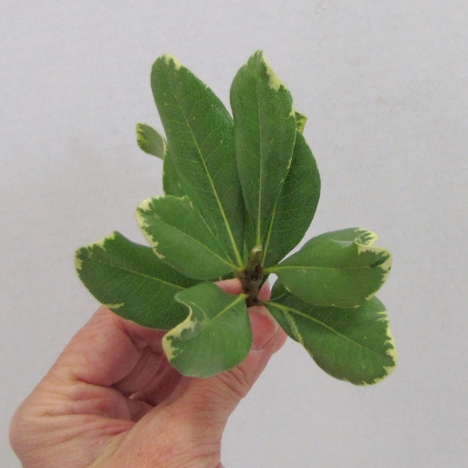
One grower's bunch contains clusters of leaves on thick central stems.
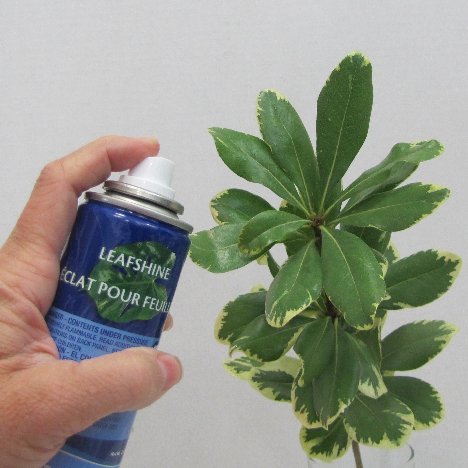
I spray my pittosporum leaves with Leafshine just like I did for the salal leaves. Allow to dry before designing with the leaves.
Cut single leaves off and wire them for use in your boutonniere.
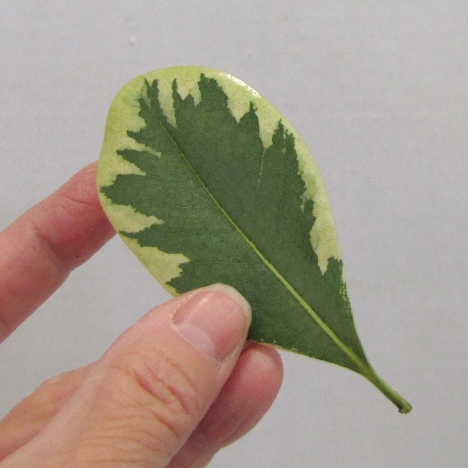
Pierce and bend as you did with the salal leaf.
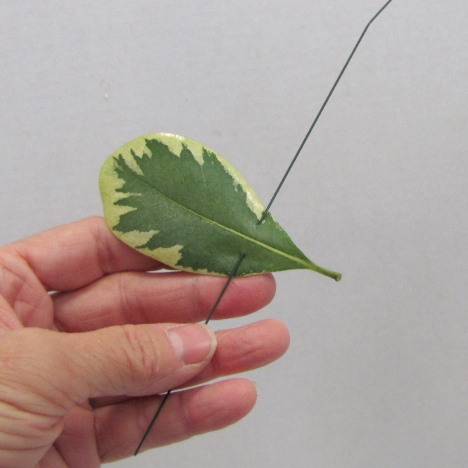
Tape securely with corsage tape. Your leaf is now ready to add to the side of your boutonniere.
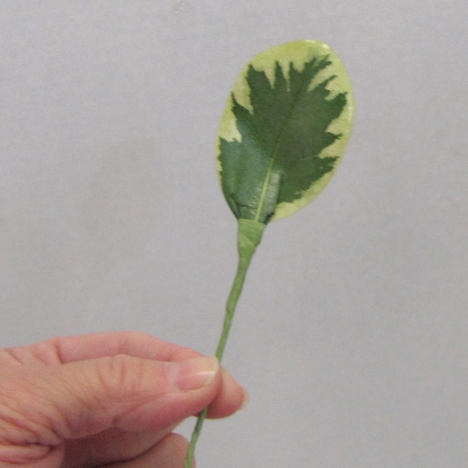
I placed this variegated leaf on the right side, opposite the glossy green salal leaf. Note the pretty contrast and interest this adds to the design.
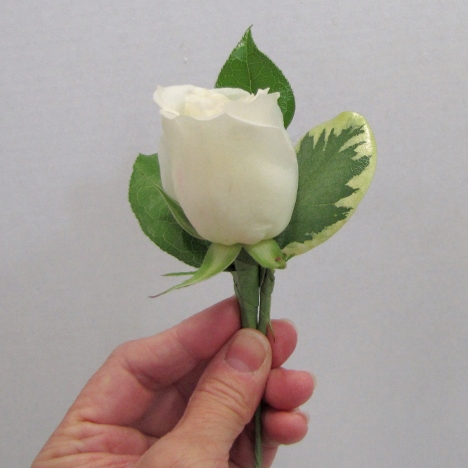
As you add leaves to your rose boutonniere, the stems from the leaves can begin to make the single stem rather bulky and awkward.
Only tape down a portion until the stems are firmly held together, then cut off the excess (larger) stem.
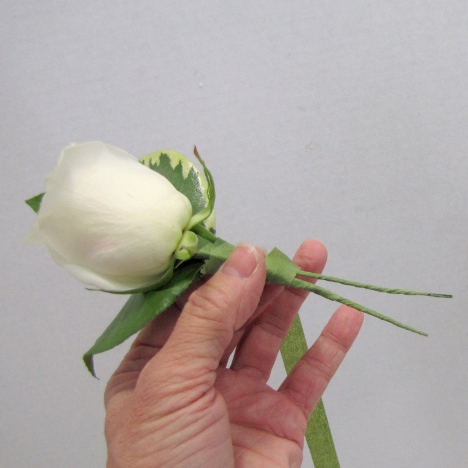
Continually trimming off the excess wire stems in this manner helps cut down on the final boutonniere stem, leaving it much more flexible and easier to bend.
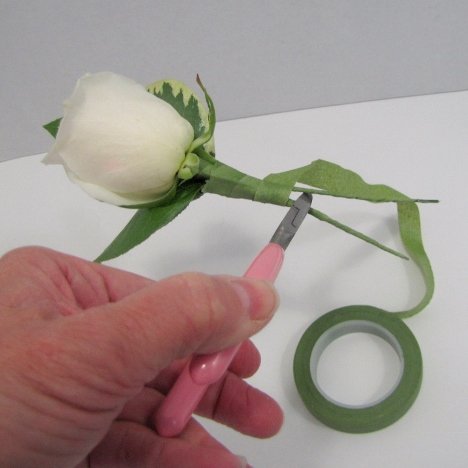
The result is a nice long, smooth and slender boutonniere stem - even if there is a total of five wired taped together.
