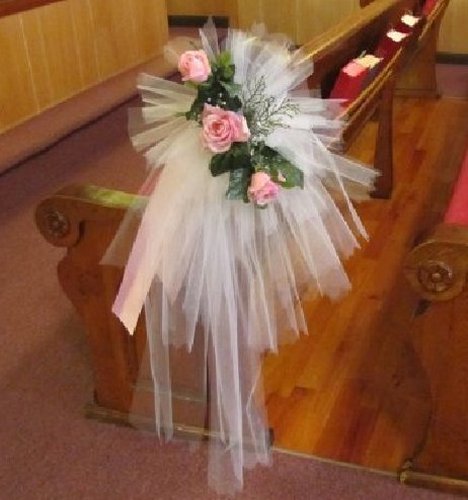
tulle aisle decorations
These tulle aisle decorations are timeless and beautiful with nothing but the fabric. Ratch it up even more by adding flowers to the design.
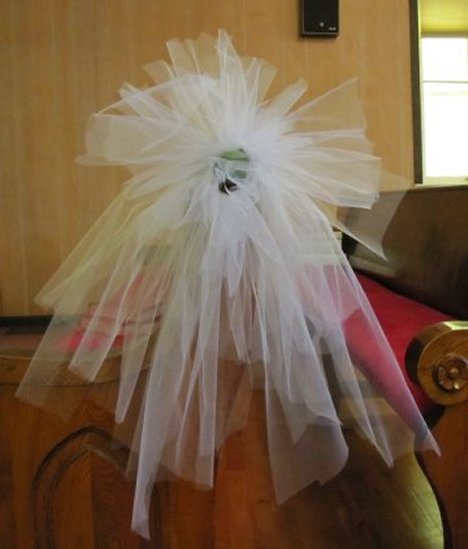
These tulle pew bows will have a stamp of individuality when you insert either fresh or silk flowers into the center. It can have so many different looks.
You can also create your own look by adding different colors of tulle into your bow. The many different combinations of flowers and colors can personalize your bows to your own wedding theme and colors.
I inserted silk roses into this bow. Start at the top, inserting your first rose after dipping the stem into white glue. The head of the flower should face upward.
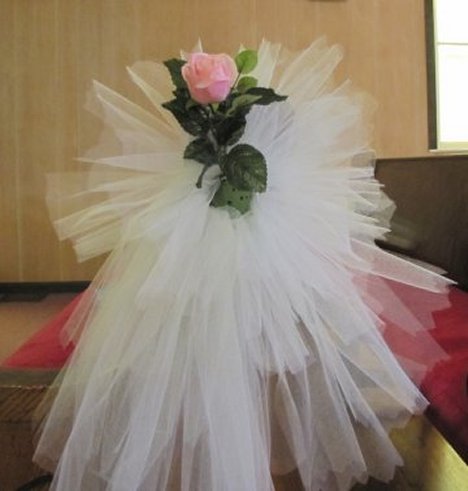
Cut the stem of the second rose shorter and insert into the center of the Deco foam straight in, the face of the rose facing outward.
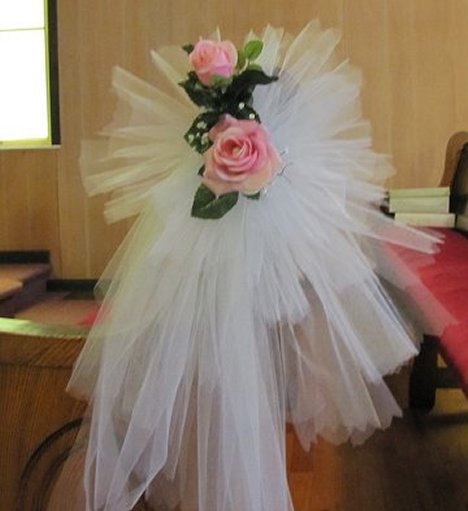
Add the third longer flower stem in the bottom, facing downwards. If you wish, other varieties of flowers or filler can be tucked into the foam, creating a larger cascade of flowers from the center.
Be careful not to degrade your foam by inserting and removing the flower stems too much. It's better to cut once and insert once, keeping the integrity of the foam intact.
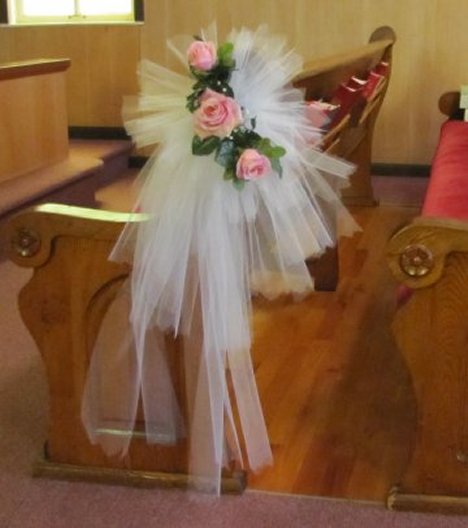
See how quickly the pew bow is flowered and ready to be used as a pew or church decoration.
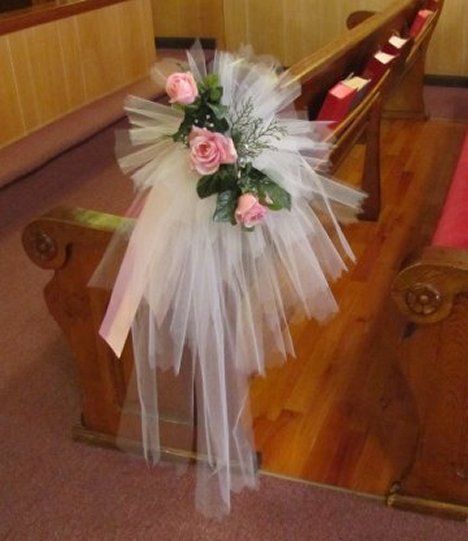
The bow finishes up with trimming the bow to the proper length. I generally wait until the bow is attached to the pew before doing this step. It's easier to gauge just how long the tails and loops should be when you see them on the actual pews. This will also make it easier to keep all the bows uniform and looking similar.
Attaching the bows to the pew is going to depend on what type of pew (or chair) you have. Sometimes it can simply be tied on with a piece of tulle as shown below.
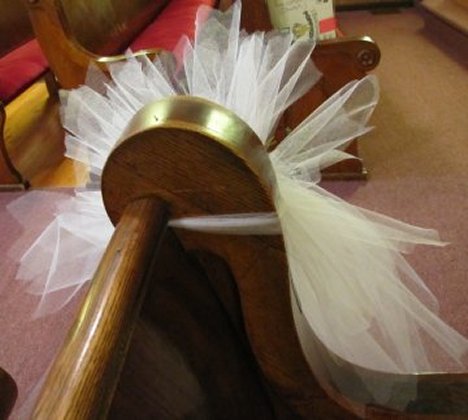
When the pew back sticks up as this one does, you can simply take a piece of tulle and wrap it around the pew and bow, tying it tightly through the loops in back of the bow. You can tie it with a longer piece and allow the tails to drop down as part of the decoration.
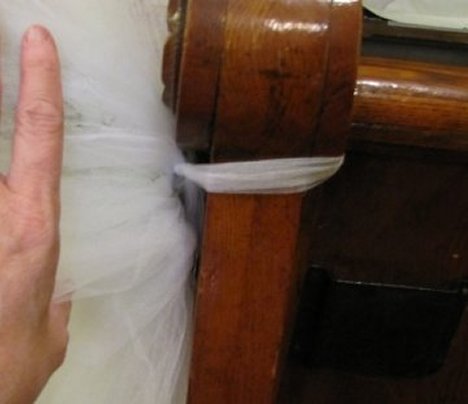
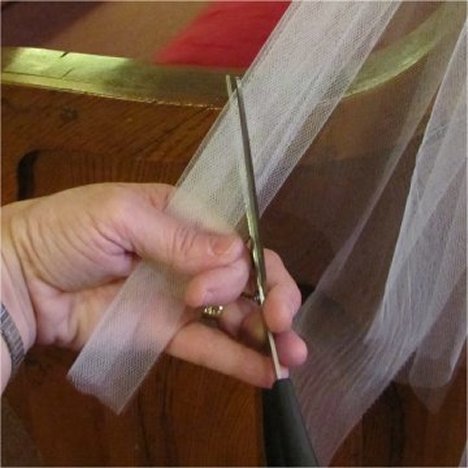
The tulle may look a little shaggy and not finished. I prefer not to measure each and every piece of tulle that I attach, finding it faster to simply trim the bows to size when I'm finished. Grasp the piece of tulle that you want to trim firmly with one hand and cut with sharp shears in the other hand. You will have a finished cut that looks rather like pinking sheers.
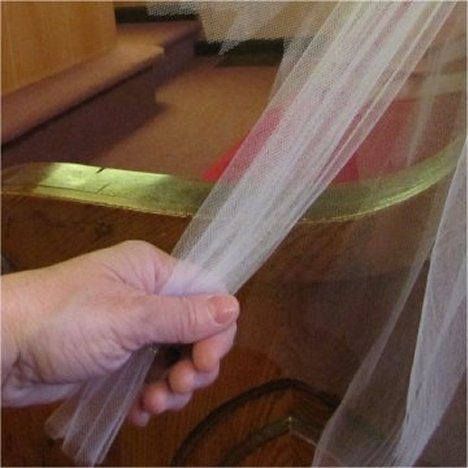
I cut at an upward angle to to give a little more interest and depth to the bow.
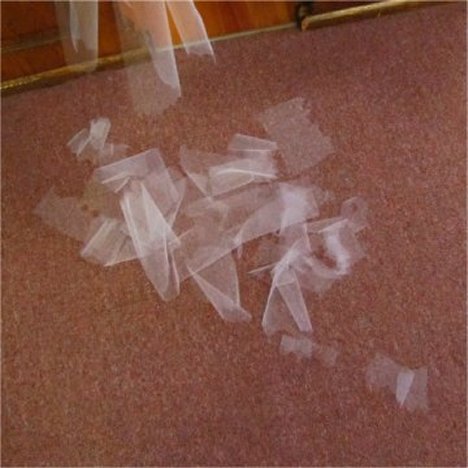
Simply discard the leftover pieces after you are finished trimming the bow.
Once finished, you'll have a lovely bow that is oh-so-easy! to create for YOUR own perfect wedding day!
