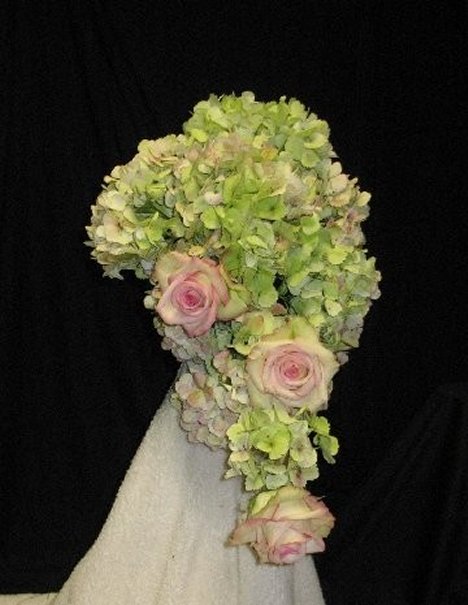
rose hydrangea bouquet tutuorial
In this Rose Hydrangea bouquet tutorial, it's now time to add the roses.
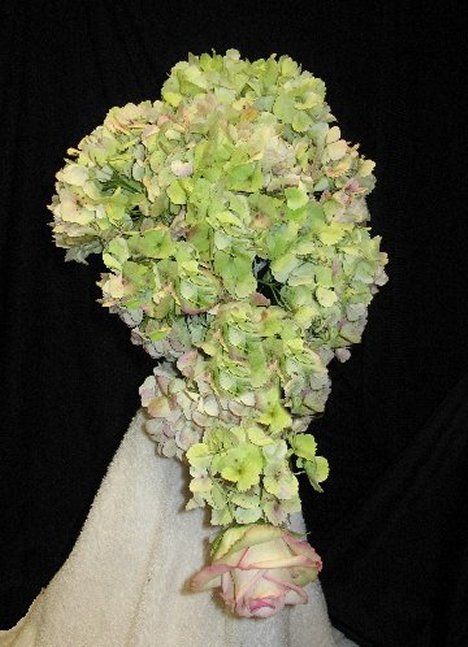
Begin by cutting a long stemmed pink rose and inserting it into the bottom of the bouquet holder, pointing completely head down. Insert the rose deep enough into the holder to secure it firmly into the Max Life florist foam.
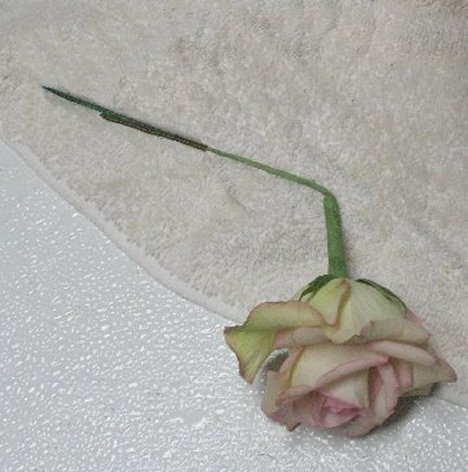
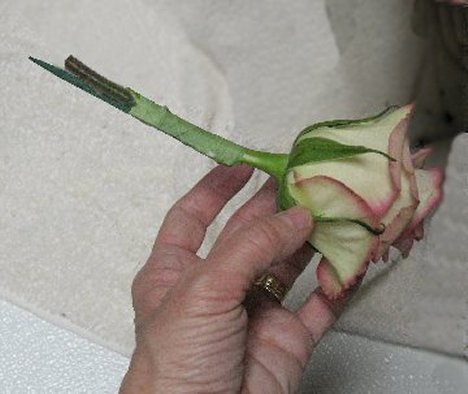
Since I wanted the next rose to face outward in the cascade rather than downward, I wired the rose, taped with with florist tape and bent the rose as shown below.
I've attached a Cowee pick to the end of the wire. This will insert into the wet foam, swell slightly and tighten the stem of the rose in the Oasis. The slender wire by itself may slide out of the bouquet without the Cowee pick.
It's not necessary to use the Cowee picks if you plan on using the stem adhesive.
Now I come up in the cascade, above and to the right of the lowest rose. I nestle the wire deep in among the hydrangea blooms and insert the stem of the rose into the bouquet holder. See how the full face of the rose now faces outward in the cascade?
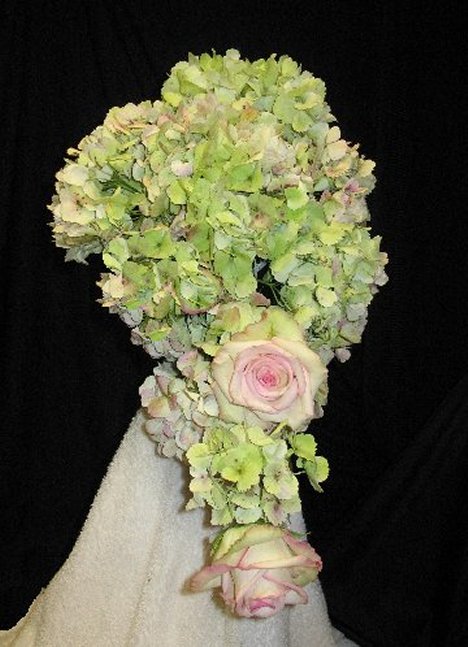
Now insert another rose into the lower left of the bouquet
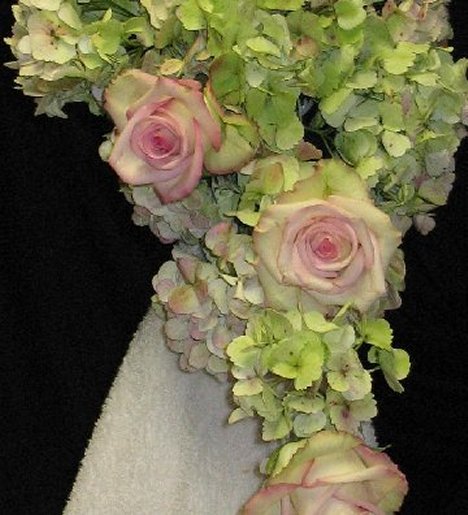
Continue to space out the rest of the roses around the upper portion of the bouquet. Since Gerbera daisies are to be added later, be careful to leave spaces for those flowers to be inserted.
