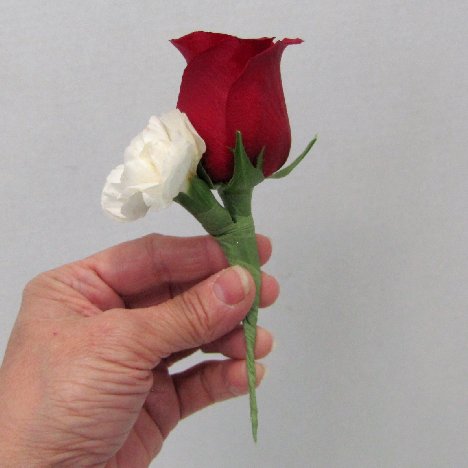
prom boutonniere
Learning how to make a professional looking boutonniere is all in the details. It's not that hard to cut a rose or carnation and pin it to a groomsman's lapel.
But the designs that get remembered and commented on are those that a "little something extra" has been done.
It all starts at the beginning . . processing your bulk wedding flowers like a professional means taking the time to cut your stems underwater, allowing them plenty of time to rehydrate, using the right floral products that extend the life of your flowers and applying techniques that create beautiful, long lasting flowers is what it is all floral design is all about.
Keep in mind that adding bows and lace does not generally appeal to the men. The same is true for three or four large flower heads - that always looks more like a shoulder corsage rather than a buttonhole posy.
I love the look of mixed greens, which I think adds interest and great composition to any design. Turn a simple rose into a sophisticated art for your special event!
For this boutonniere, you will need the following:
- 1 single standard rose (short stemmed roses are fine)
- 2 miniature carnation heads
- 1 salal (lemon) leaf
- 1 galax leaf
- 2 - 3 blades of Lily Grass
- 1/2" Green Stem Wrap
- 15 - 18 Pearl Headed Pins (your choice of color)
- Leafshine Plant Polish
- Finishing Touch flower spray
- Green Florist Wire 26 gauge

I generally wire roses that are used in boutonnieres. This isn't necessary if you plan to use the natural stem as part of the design. But if you plan on adding leaves and other design elements, the stem can get rather bulky very quickly.
Many florists use the wired stems as part of the design, curling up the ends, ribbon wrapping or more. Keep the stems slender and flexible and the result will have a more polished appearance.
Bulk roses shipped in dry pack arrive with their guard petals in place. You may think this means the rose is damaged, but the outer petals are left on deliberately to protect the inner rose.
Leave these petals in place until you are ready to design.
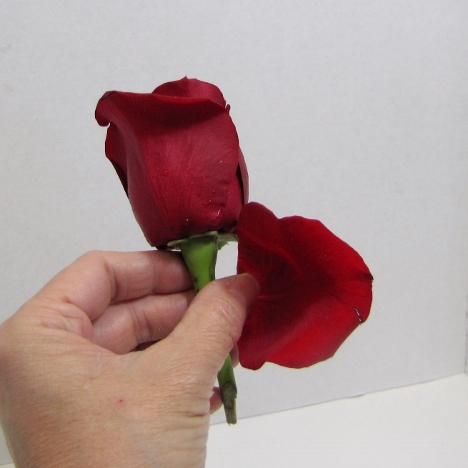
After removing any damaged outer petals, inspect your rose for any imperfections. I tend to spray my fingers with Finishing Touch to protect delicate flower petals from the oils on my fingers, which can sometimes brown delicate white petals.
A rose should feel firm when you give it a light squeeze. Petals that fall off easily are a sign that a rose is past it's prime and may not hold up after taken out of refrigeration.
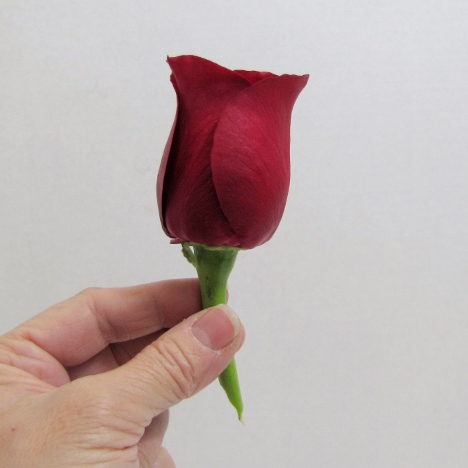
Removing the lower leaves right below the flower head is a personal choice. I sometimes like for it to be part of the design, but other times I remove them to make for easier taping and wiring, especially if I'm adding a lot of different green leaves.
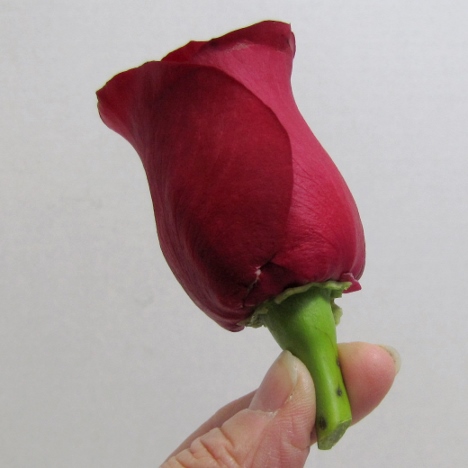
Pierce the bulb of the rose with a 26 gauge wire and push it all the way through the stem.
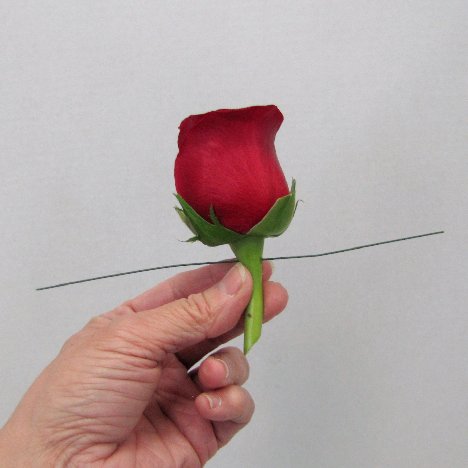
Bend the wires down parallel to the natural stem, creating a wire stem.
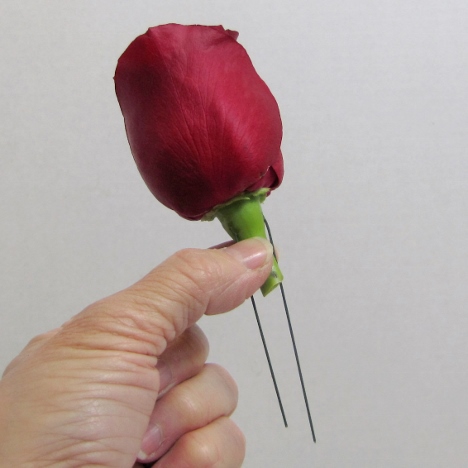
Starting high on the flower, use professional florist tape, winding it around the stem and pulling tightly so it adheres to itself as you go down.
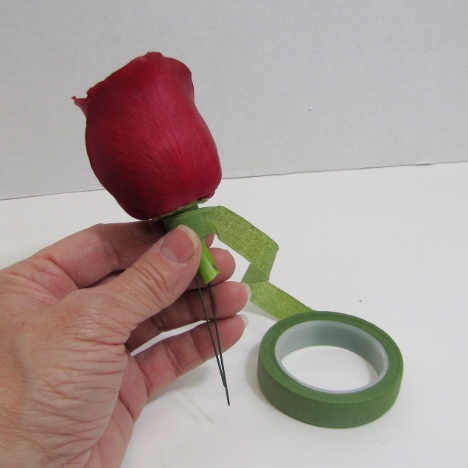
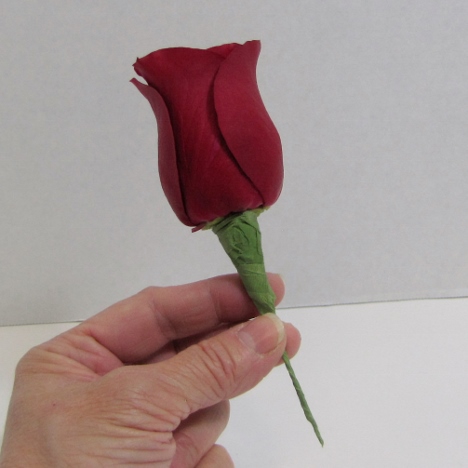
The final result is a tightly wrapped stem ready to add more leaves and flowers.
Miniature carnations can add a lot of design interest without excessive cost. This flower has been lost by the wayside, but is making a marked comeback when brides have discovered that this flower comes in a multitude of colors and has great lasting power.
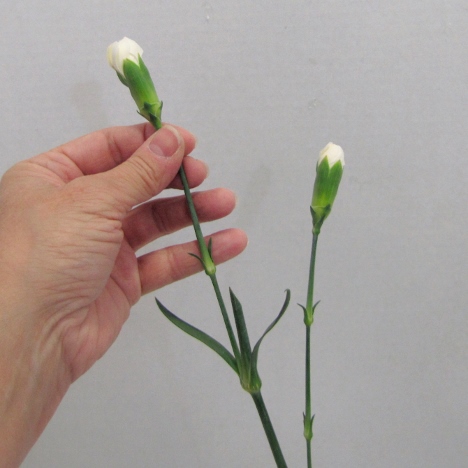
Miniature carnations are actually a spray flower, having sometimes five or more blooms to a stem. They are easy to pierce and wire just as you did the rose previously.
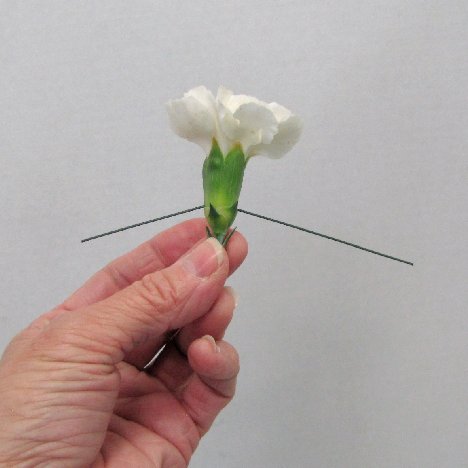
Bend down the wire and tape with green floral tape, stretching it as you go down the stem.
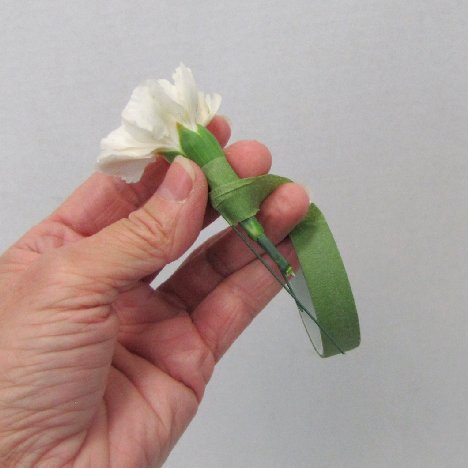
Wiring the carnation gives you a little more flexibility and allows you to bend the flower head forward without snapping it off the natural stem.
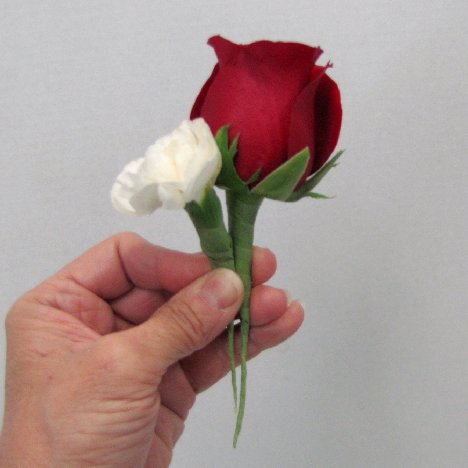
Hold your thumb in place and gently bend the bloom forward. Take care - being too aggressive can still break the head if you aren't careful.
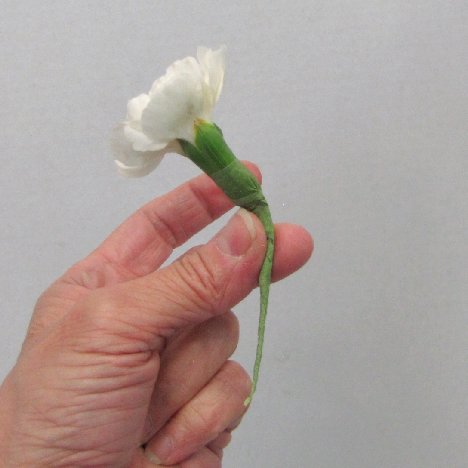
Place the carnation against the rose, lowering it down the stem. Keep it snug against the rose head as you tape it into place.
