lavender boutonniere
A side view of this lavender boutonniere shows both stems parallel to each other before taping them together.
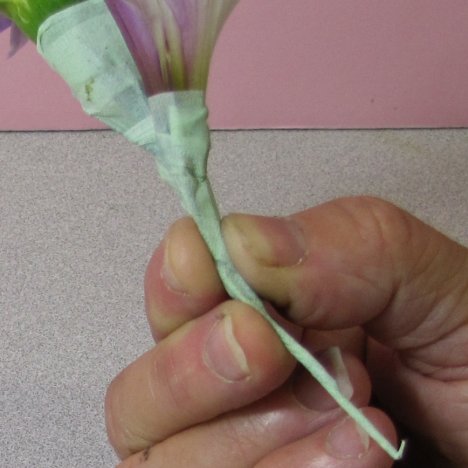
I started taping the two flowers together right below the alstroemeria head. I cut off the wire extending below the carnation in order to keep the boutonniere stem as slender as possible.
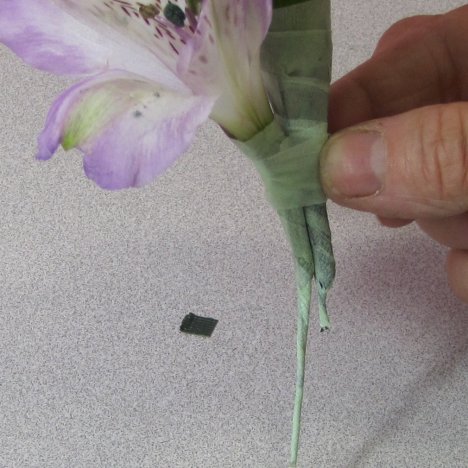
I continued taping downward, concealing the newly cut end of the carnation. The two blooms are joined together, fitting snugly with no space between the stems.
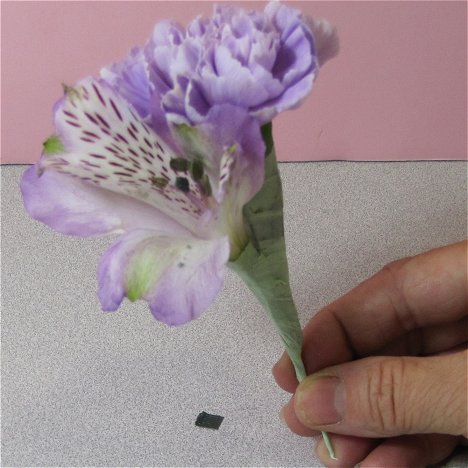
I'm making this into a 3-bloom boutonniere by adding one more alstroemeria. Wire and tape as shown previously.
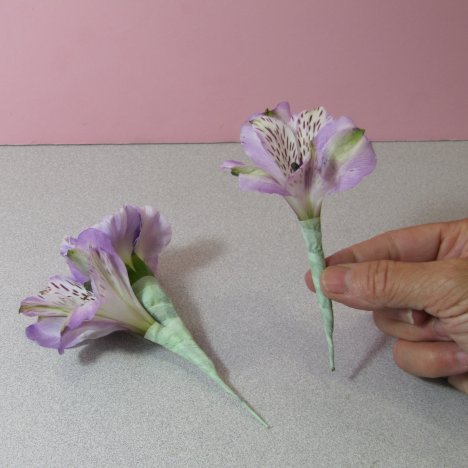
This third flower head is going to be bent slightly forward so that the head faces directly to the front when viewed on the tux lapel.
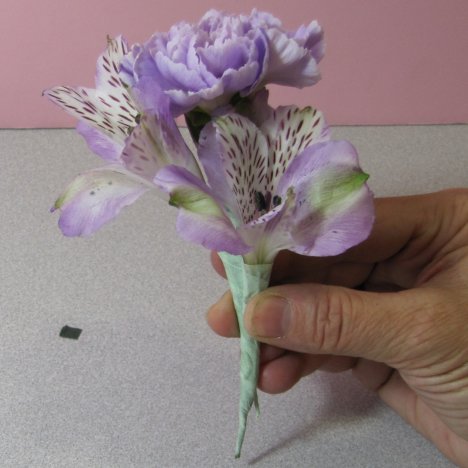
Here's a side view showing how I pressed the stem of this last flower directly against where the other two flowers are taped together.
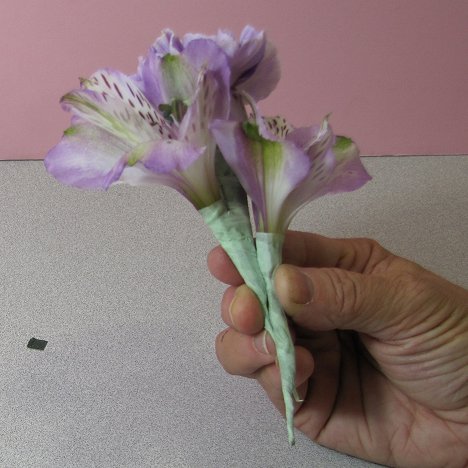
Start taping high, directly under the 3rd flower head all the way down the stem. Snip the bottom of the wire off cleanly if needed and cover the raw ends with flower tape.
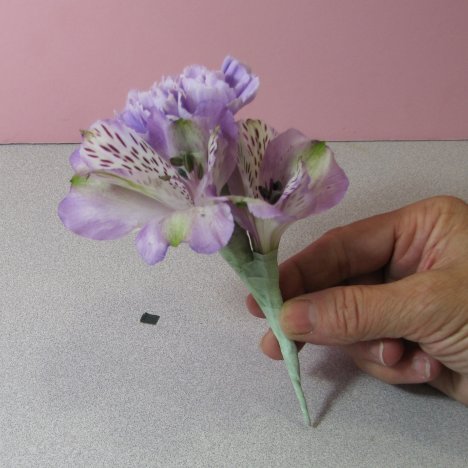
Using colored wire as accents can make a boutonniere unique. This decorative wire comes in different sizes, including 12 gauge and 6 gauge (twice as thick). Both sizes come in 14 beautiful colors and are easy to bend and pliable enough to shape by hand.
Don't miss out on the versatility of Oasis flat wire and Oasis metallic wire. They are an amazing way to add color and interest to any boutonniere or corsage.
Let me show you how . . .
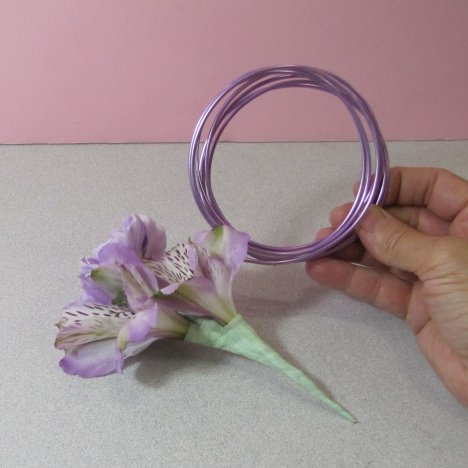
Using a pair of needle nose pliers (or your own fingers), gently bend the end of the wire into a spiral shape.
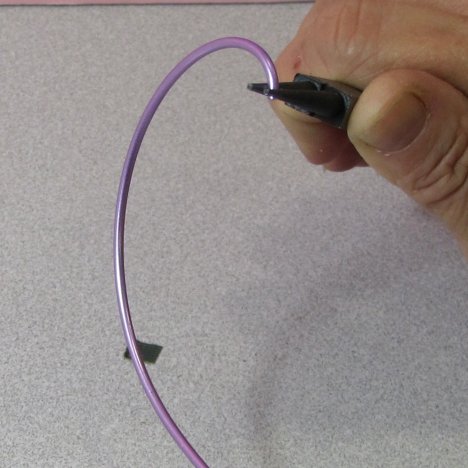
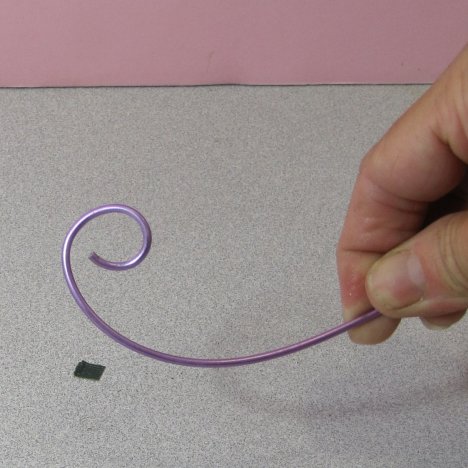
Go tight or open. Part of the fun of using decorative wire is that you can let your own imagination take hold!
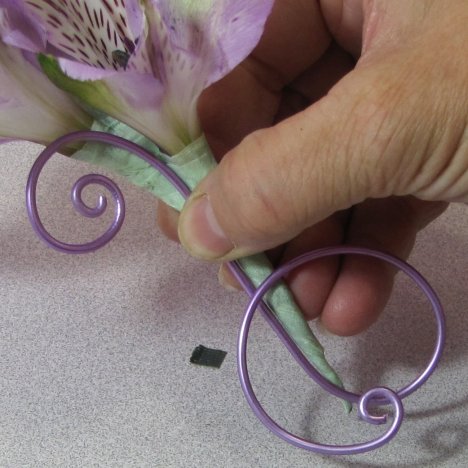
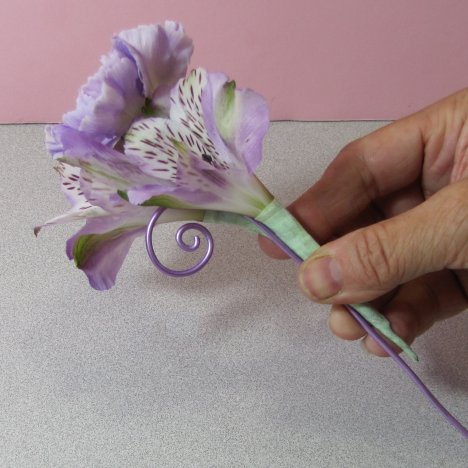
Place the bent wire parallel to the boutonniere flower stems. Allow the bent wire to be seen from the left side of the flower.
Bring the tail down and make a graceful curve up and over the wire itself.
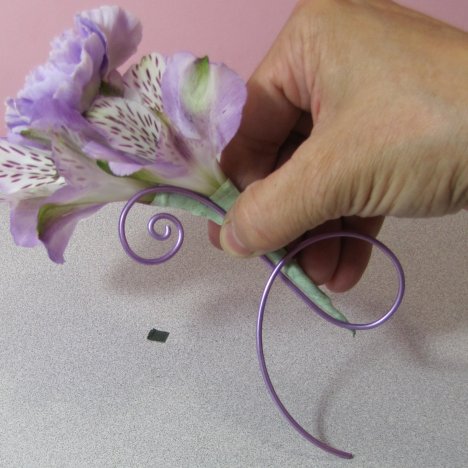
Form another tight circle at the end of the cut wire and bend into a coiled shape.
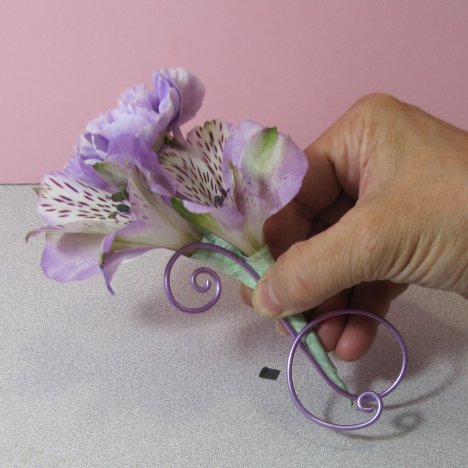
Keep the curves easy and open, not pinching the wire too tightly to leave marks on it.
