Hand Tied Bouquet
Leather leaf fern is a common and inexpensive and used as a common staple in many flower shops.
Here is what one bunch of leather leaf fern looks like. It is sold in grower bunches by weight. Pay attention to the average number of stems when you purchase on line, as my flower recipes detail how many stems (not bunches) you need.
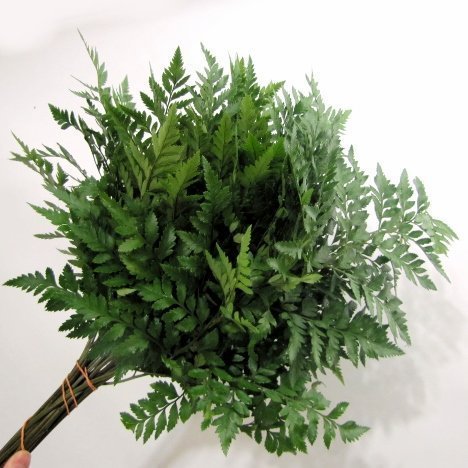
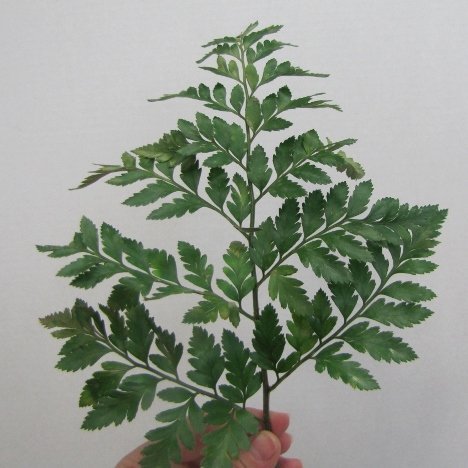
Every stem is not going to be perfect. Allow for it. Professional florists do. You can see how this fern is lovely and can easily be cut into separate sections - letting nothing going to waste.
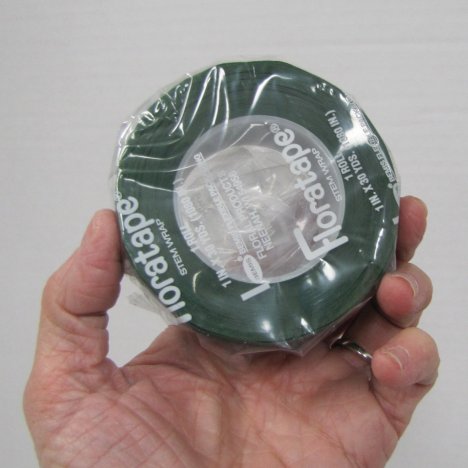
I'm going to use green floral tape. This tape stretches and clings to itself and is commonly used in corsage work.
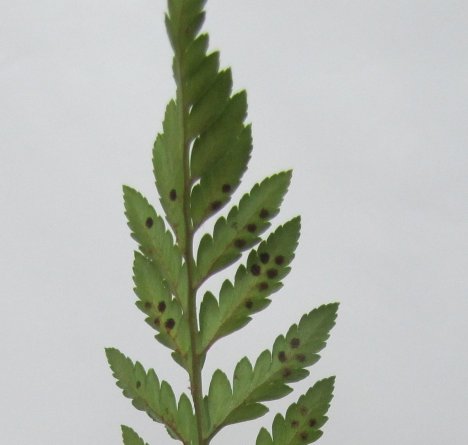
Do not freak out if you see tiny black dots on the back of your ferns. At certain times of the year they appear on leather leaf fern. These spores are the seeds that the fern propagates itself with. Think of them as garden seeds!
I spray my greenery with Leafshine. This plant polish is a spray that cleans and polishes the leaf. Greenery is often dirty coming in from the fields (obviously). When rinsed off in hard water, it can leave a splotchy white residue when dried. Other greens sometimes have a dusty yellow look - again - pollen dust.
Leafshine seals and cleans the greenery, drying to a shiny, green finish that seals the leaf. Do not use on flowers - use a hydrating sealant for them such as Finishing Touch.
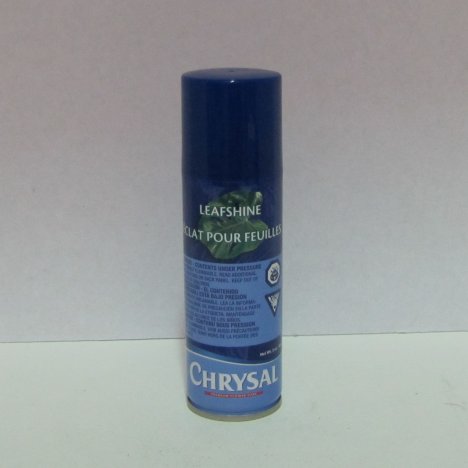
Once the leaves are clean and dry after spraying them with Leafshine, I begin to assemble my hand tied bouquet together.
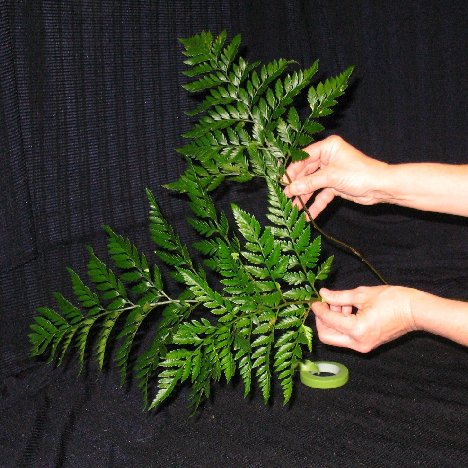
I lay three stems together, staggering them slightly down the stem and then tape the stems together with floral tape.
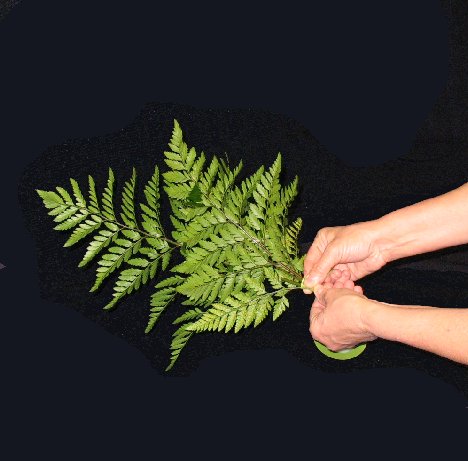
The leather leaf has a distinct, backward curve to the stem. I want the leather to stay snuggled against the back of the flowers, not bending backwards away from them. You can bend the stem, "retraining" it to not have such a distinct curve.
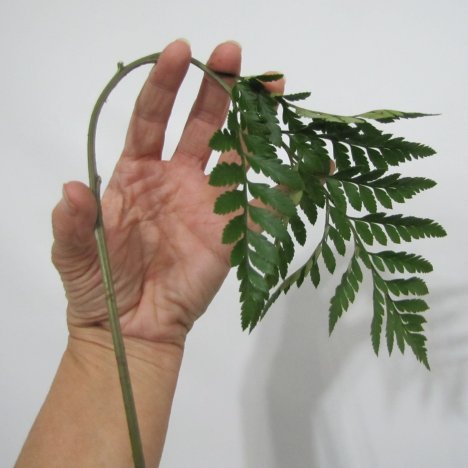
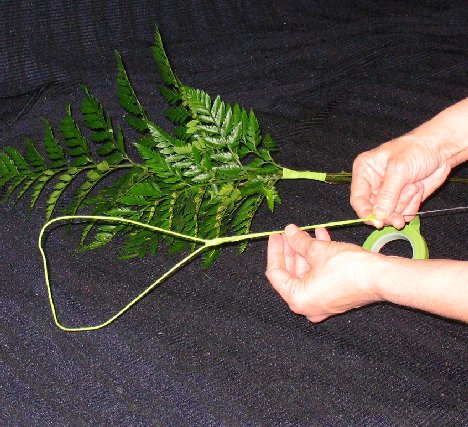
Another florist trick is to use a length of 22 gauge wire - such as in the paddle wire shown below.
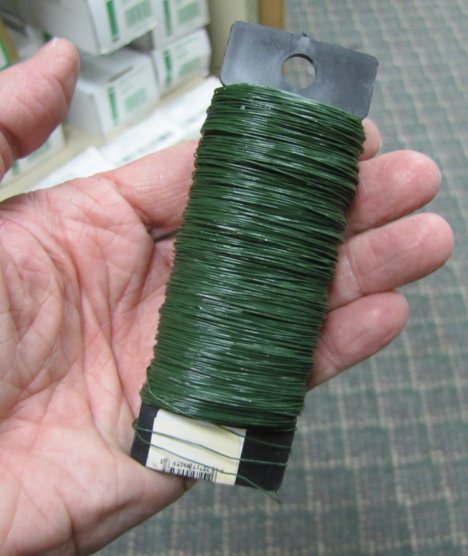
The wire is already enameled green, so you don't have to tape if you don't wish to. I generally cover the wire with floral tape down the length of the stem
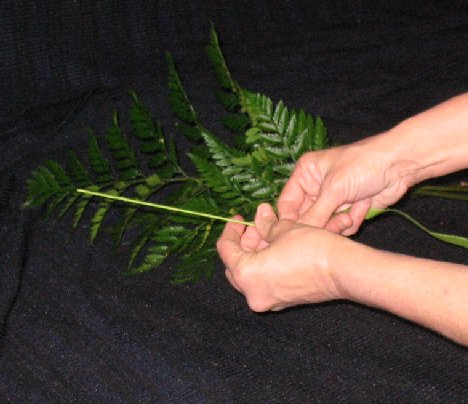
Tape the entire length.
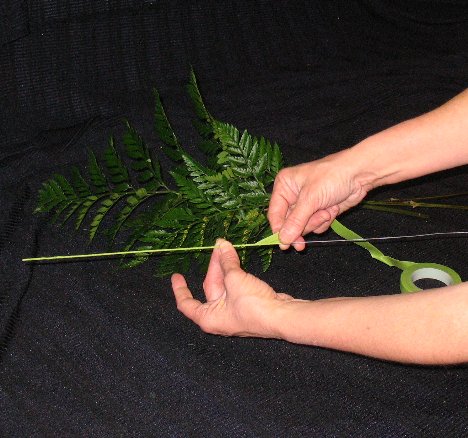
I then bend the wire into a rough triangle shape - creating a lightweight support wire.
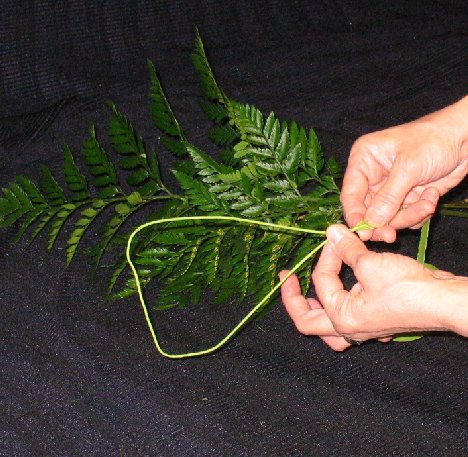
I then tape the doubled wire stems together with florist tape.
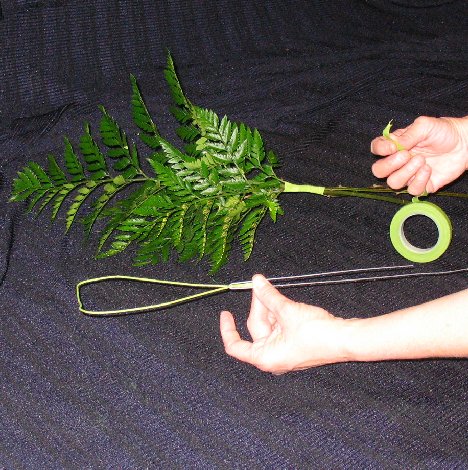
Tape all the way to the bottom, making sure the sharp wire is covered and leaves nothing sharp to snag on dresses or hands.
