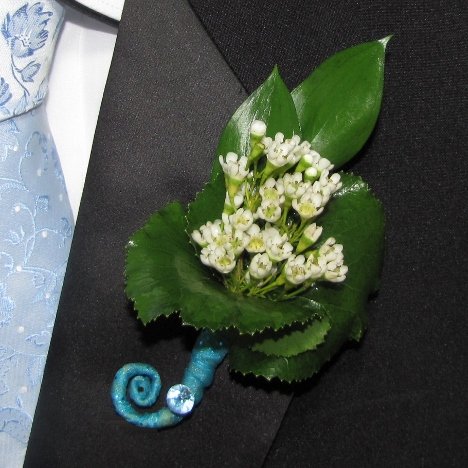
finish a waxflower boutonniere
To finish this waxflower boutonniere, tape this leaf into place, snipping off excess wise to keep the final stem slender and neatly taped.
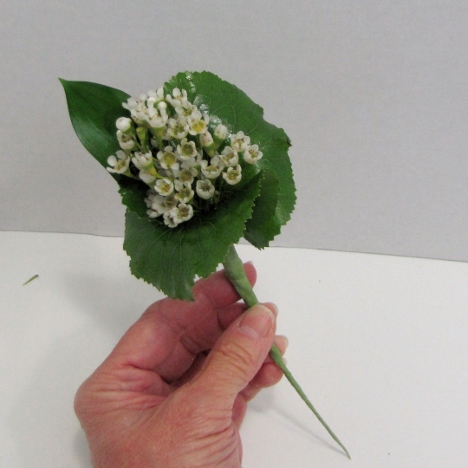
Here's a back view showing the support wires in place.
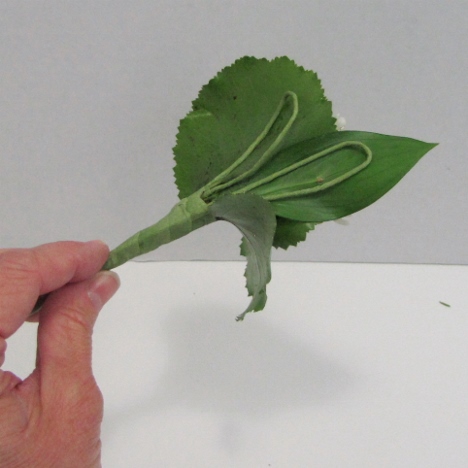
I then placed a second Israeli Ruscus leaf in place, even a little higher than the first. Tape to main stem.
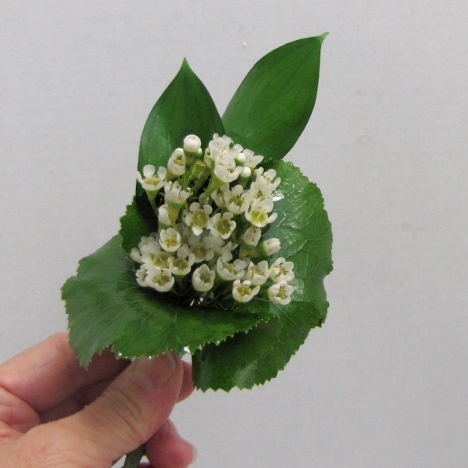
Ribbon wrapping boutonniere stems is a favored method to add a sleek finish to the final boutonniere. Here is a nice sparkle ribbon 5/8" wide and comes on a florist roll of 25 yards. Plenty for corsages, boutonnieres and bridal bouquet if you wish to match.
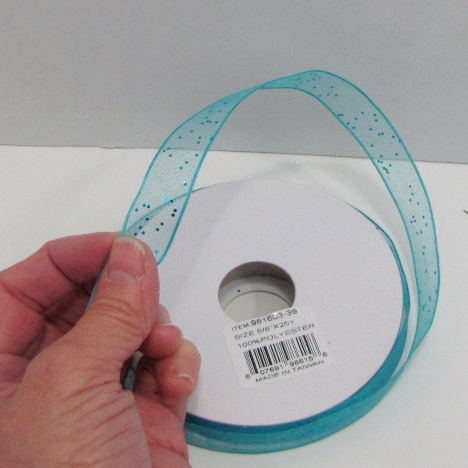
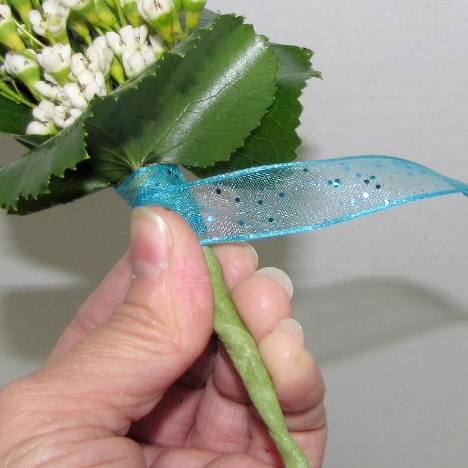
I start at the top and tightly wind it around the stem, edging it downwards as I go.
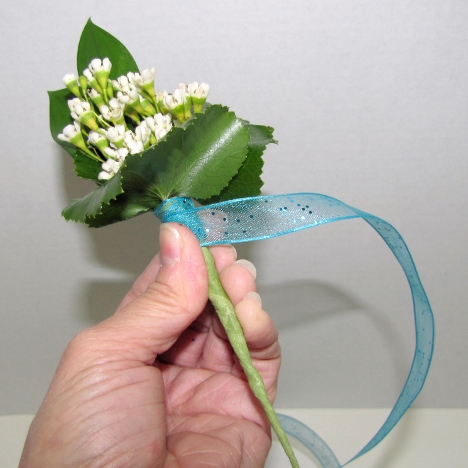
Keep it tight and conceal the cut edge with a couple of wraps before moving down the stem.
When I get to the narrow bottom, I give the taped wire an quick tight twist to hold the ribbon in place.
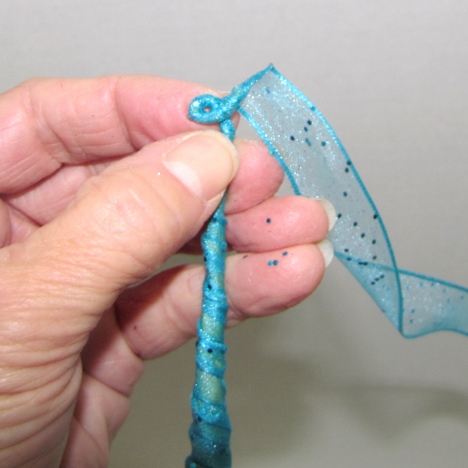
Snip it off cleanly with a pair of sharp scissors to get a non-frayed cut.
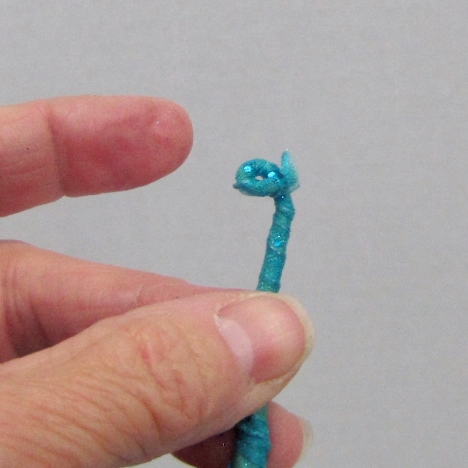
I tightly roll the bottom to keep the ribbon from becoming unwound.
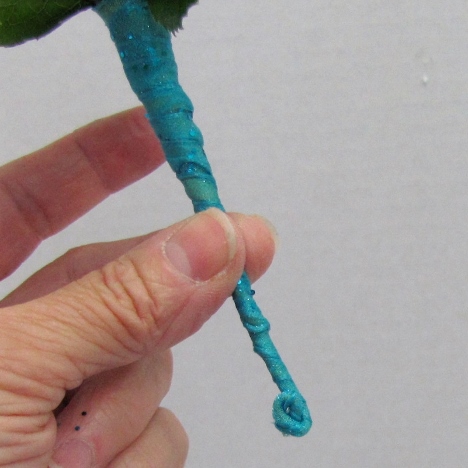
Using my fingers and thumb, I gently work the bottom of the stem into a gradual upward curve. Be careful not to twist and pull your ribbon off the wire. Using my fingers and thumb, I gently work the bottom of the stem into a gradual upward curve. Be careful not to twist and pull your ribbon off the wire.
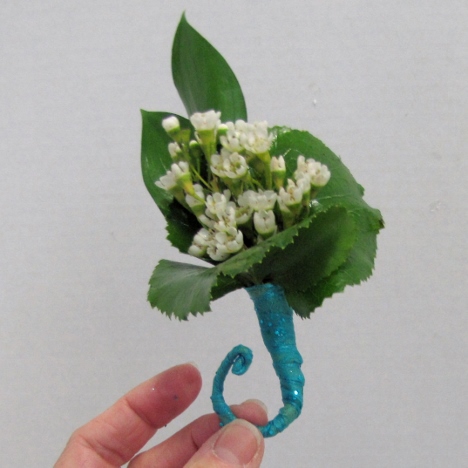
I'm going to cut a Diamante Pin short and then dip the sharp shank into white glue before pinning to the boutonniere stem. Take care not to get glue on the pin head. Shorten the pin safely by burying it in florist foam and cutting with heavy duty wire cutters.
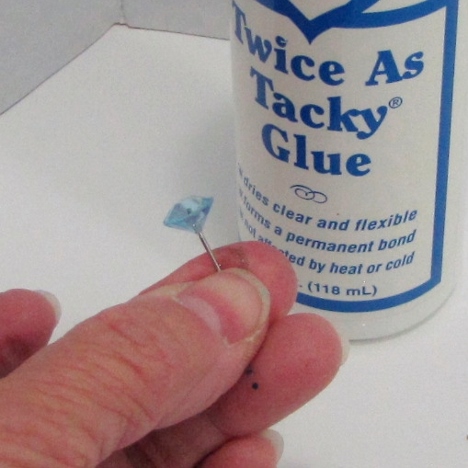
Diamante pins come in several different colors including clear, pink, red, apple green and blue.
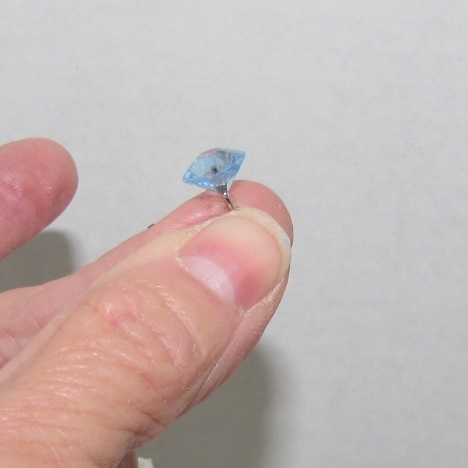
Press the sharp point into the thicker part of the stem. The small amount of glue will help hold it in place. Be sure no sharp point protrude from the back of the boutonniere.
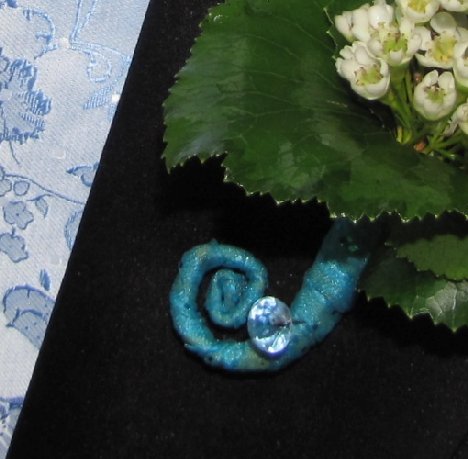
This elegant boutonniere is beautiful and (shhhh!) pretty cheap to make! The greenery is what makes this design so classy!
