diy boutonniere
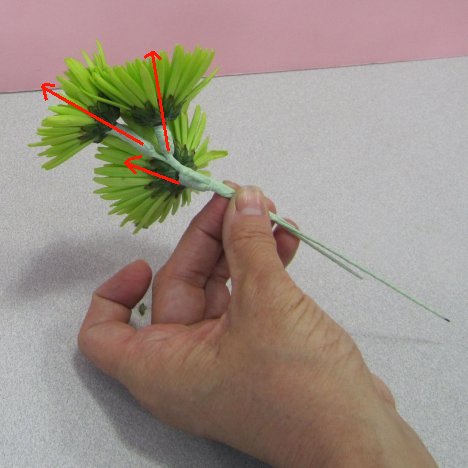
A DIY boutonniere will look professionally made if you pay attention to the details. Make sure that your boutonniere heads face upwards and outwards when they are fastened to the tuxedo lapel. Replacing the original flower stems with wires makes this easy to do.
Gently bend the head into a forward angle.
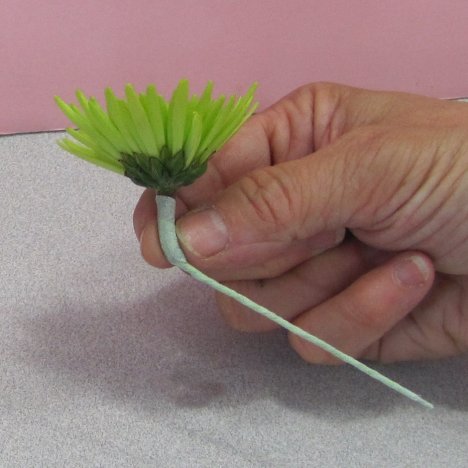
Thus the flower head shows it's full beauty when taping into the boutonniere.
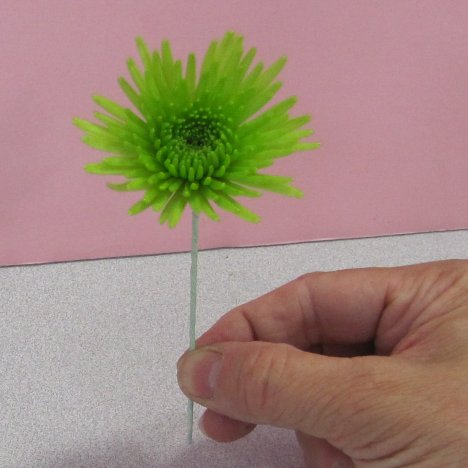
I do add the second mum, tucking the first flower directly under the head. The second flower is not bent and is allowed to face upwards.
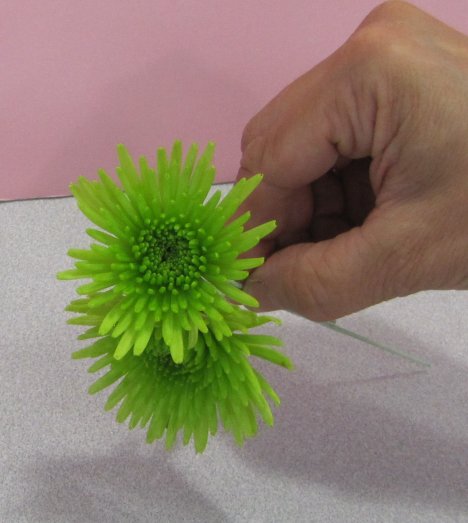
This lateral view shows what I'm trying to accomplish.
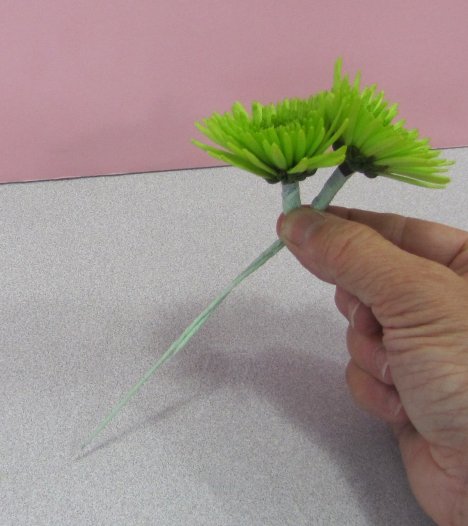
I bend the stem of the third green mum forward as well before taping it next to the second mum.
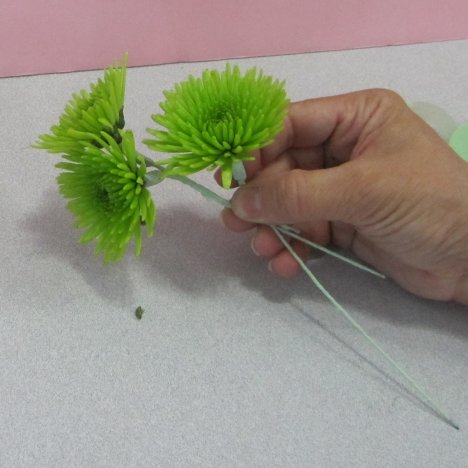
Gradually move your flowers downward. You can leave a small gap between the flower heads, as these areas will be filled in the greenery in the next few steps.
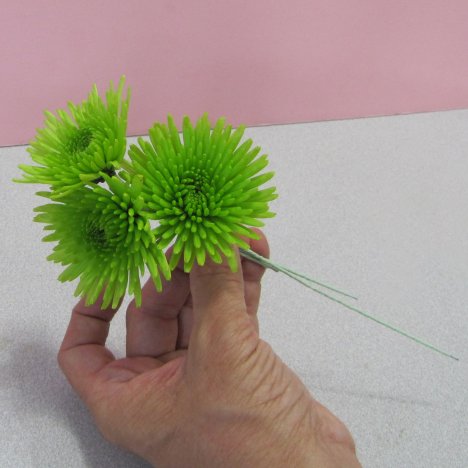
You can more easily see from the back that the three flower heads are facing upwards, then to the right and the last to the left.
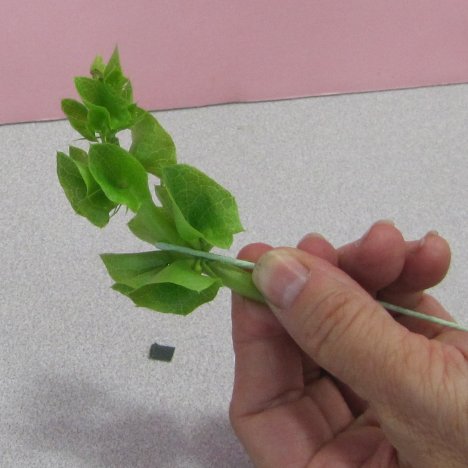
Wiring Bells of Ireland will give this interesting greenery a more manageable stem when you use it in a boutonniere or corsage. One stem will yield enough pieces for several cut flower designs.
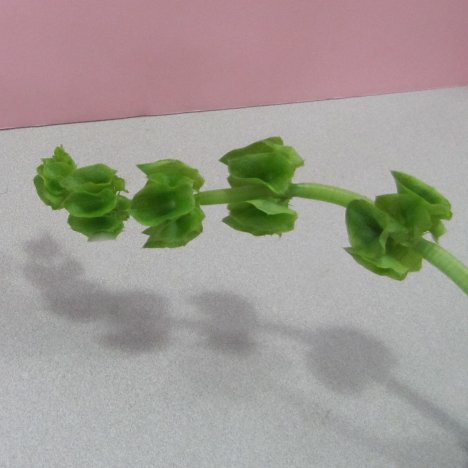
The nature of the flower generally has several bends and curves. Use this to your advantage when you add it to your flower designs.
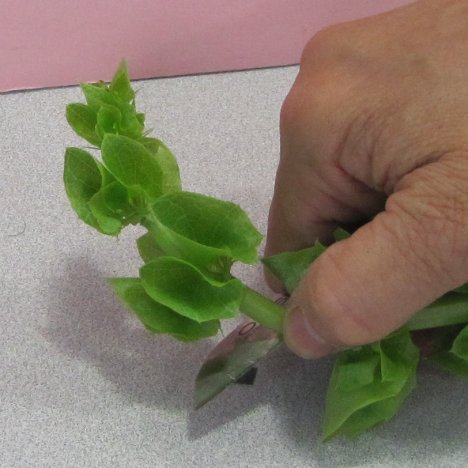
I cut off the top which has a natural curve to the right when holding the stem.
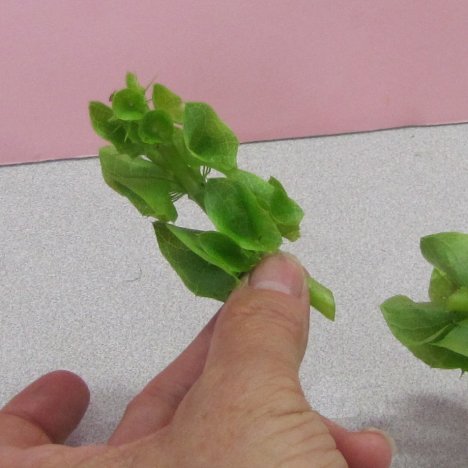
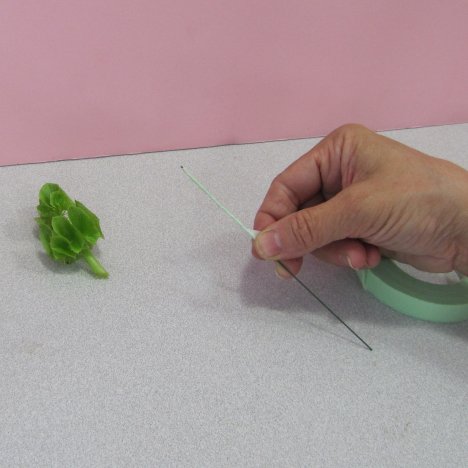
Using a 22 gauge wire, I'm going to first cover the wire with florist tape and then attach it to the stem of the Bells of Ireland.
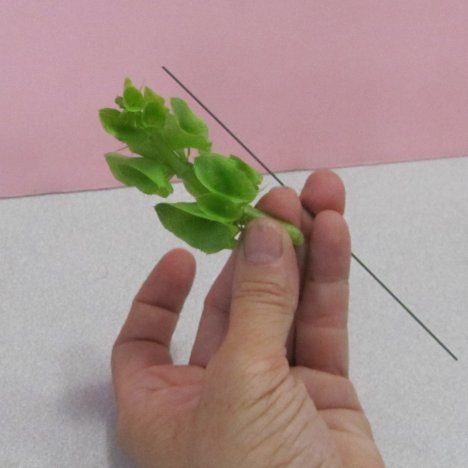
First tape a green 22 gauge wire by starting and the top, twisting the wire tightly and down with the green stem wrap.
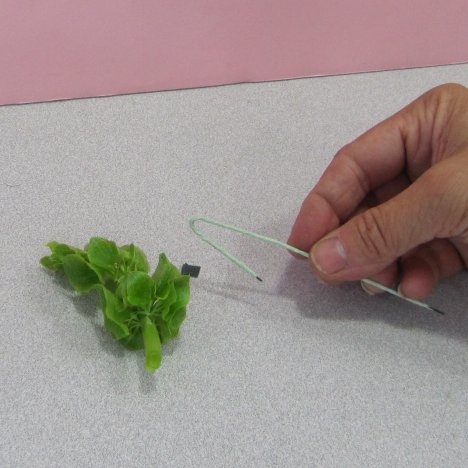
Create a hairpin hook at the top of the wire by bending it into shape with your fingers.
The bell shaped leaves branch out from the main stem.
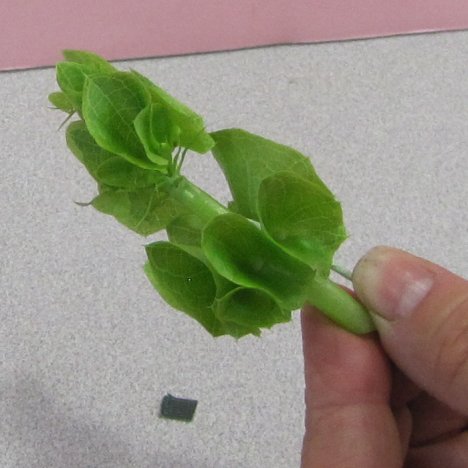
Hook your taped wire over one of these branches, making sure that the wire won't slip out once taped to the shortened stem.
