How to Design a Rose Vase
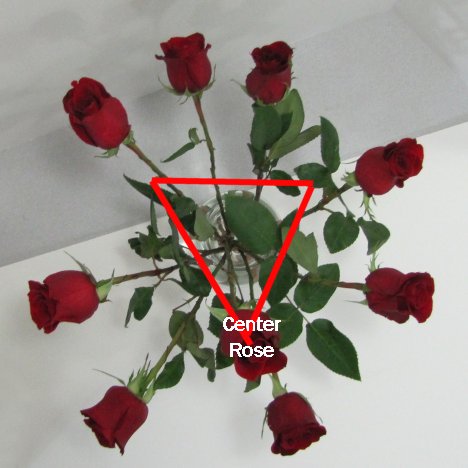
A view from above will show you how to look for the open spaces to insert new roses. Look for open spaces on the outer ring of flowers first. You eventually want your flowers evenly divided and separated by greenery.
I am going to place the first eight roses in the outer circle of the design. The flower heads should be facing up and leaning out from the center.
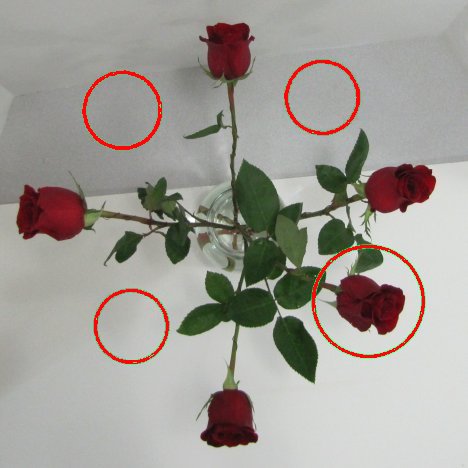
Don't stress if all your flowers don't stay in a perfect pattern of separation at first. Filling in with greenery later will separate the flowers naturally as each stem of greenery is inserted into the arrangement.
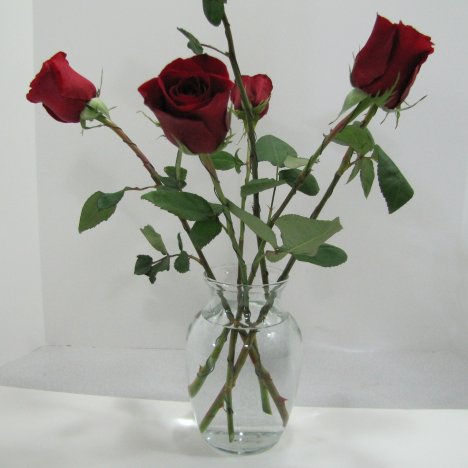
You can see that all the natural leaves rests well above the water line so nothing will contaminate the water.
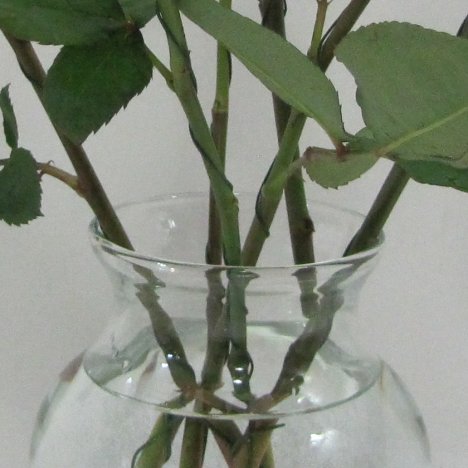
Continue rotating around the vase, turning it occasionally to help keep your design well rounded.
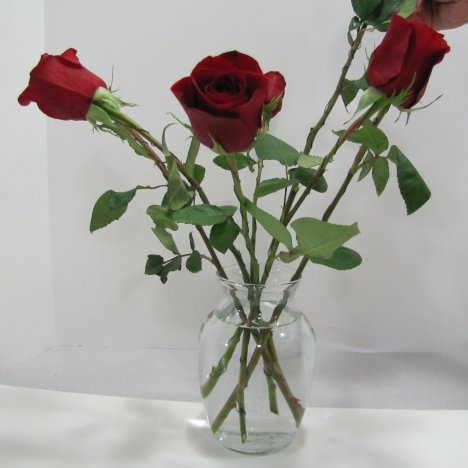
It may be easier if you visualize the pattern that a traditional rose vase takes. The outer eight roses are in a circle, leaning away about a 45 degree angle from the center rose, their flower heads facing out to the side.
The inner roses (whose heads are slightly taller than the outer roses) form a triangle around the center rose, which is the tallest flower in the vase.
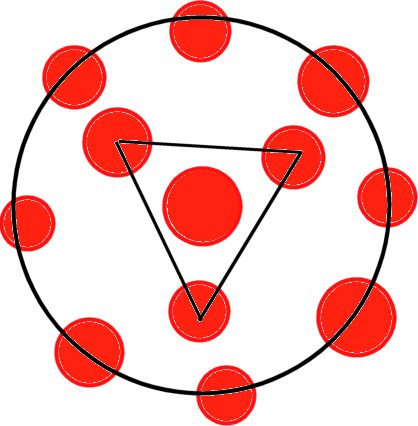
This view in the picture below shows the circular patter of the rose heads that stay about the same length coming out of the vase.
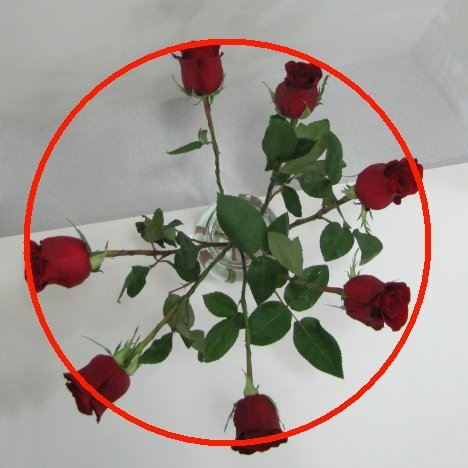
You can easily see the next rose needs to be inserted on the upper left, completing the outer ring of roses to total eight. Once this rose is in place, I will insert my center rose - the tallest of all the roses that is about a head higher than the rest.
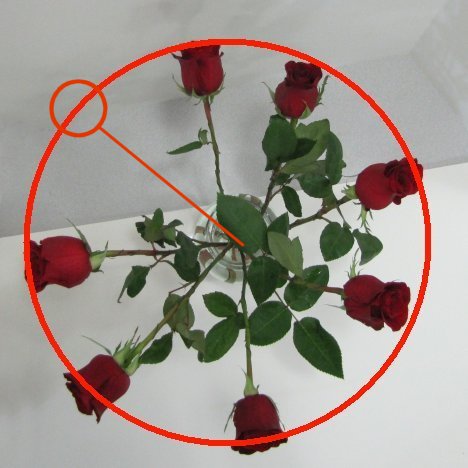
The center roses can be cut a little taller, because you want them to rise above the stems of the outer roses and create a natural domed effect.
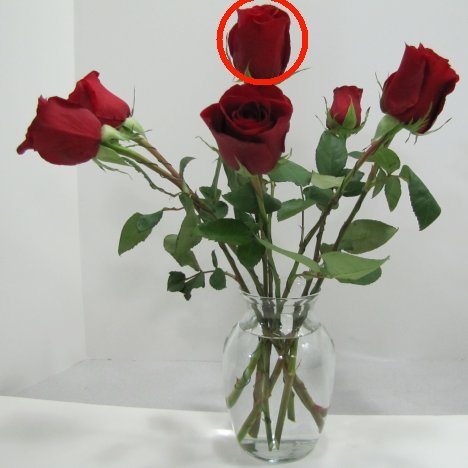
I'm not worried at this point that my center rose flower head is leaning away from the middle. I will correct this when I begin inserting the greenery that will separate all the flower heads.
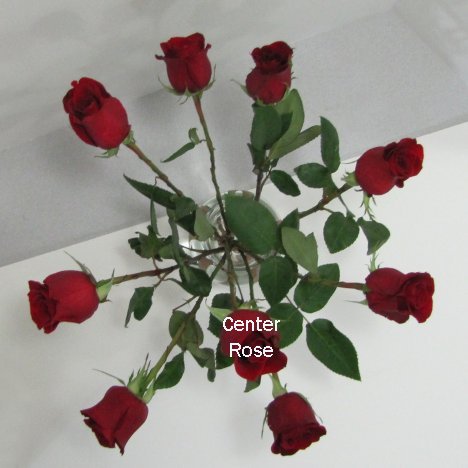
Next step is that I'll be adding the last three roses in the center, forming a triangle around the middle rose.
