daisy centerpieces
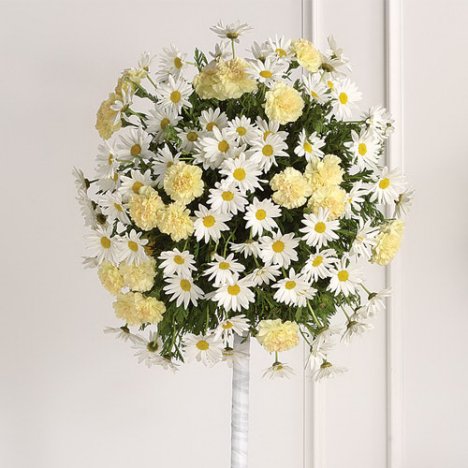
Daisy centerpieces don't have to just be stuck in a mason jar. These sweet flowers can be turned into an amazing topiary for use in front of churches, foyers, ends of bridal tables and anywhere you need something impressive.
Be sure to check out my detailed flower tutorial for constructing topiaries. You may want to peruse how to calculate flowers needed for wedding spheres.
You'll need the following to make this daisy centerpiece:
- 5 - 6 bunches white daisy (each stem averages 3 - 4 heads per bunch)
- 3 bunches standard carnations
- 5 stems leather leaf fern
- 1 Netted Oasis Sphere (4 1/2")
- 1 Topiary Support (your choice, see below)
- Professional flower food
- Floralock Stem Adhesive
- Crowning Glory or Finishing Touch Flower Sealant
- Floral Knife
- Waterproof Floral Tape
- 3 yards single faced satin (if you want to wrap the supporting rod)
Decide how you want to support your topiary. You can pour plaster in a container and insert the dowel rod or clear column if you wish. If you use wet floral foam, be sure to add it to your list. You may want to add extra flowers to cover the foam at the bottom of the sphere.

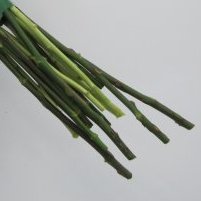
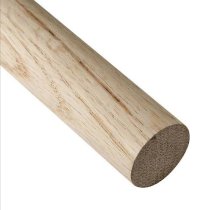
Florists use different supports, such as dowel rods, bundled curly willow, hickory sticks, flower stems, or hollow columns from the Lomey Design System. You can use your own preference, but the stand has to be firmly inserted into blocks of wet foam, containers of dried plaster or containers of rock filler. The base has to be heavy enough to support a wet Oasis Sphere. This can be heavy once completely soaked and the flower heads added.
Float soak the Oasis Netted Sphere in water that has been treated with Crystal Clear flower food. Insert the support and spray around the foam with Floralock Adhesive, which holds fast even in wet foam.
You will need to flower in the wet foam, and flower in the ball. Decide whether you want to transport as two separate pieces, pushing the flower ball onto the supporting rod at the reception venue, or transporting it as one piece. (See the above link on constructing topiaries.)
Always spray with a flower sealant such as Crowning Glory or Finishing Touch and be sure the foam stays wet, dribbling more water when needed. Flowers will drink more more than you realize and you do not want the Oasis foam to go dry.
Keep in cool, dark area until delivered to the wedding venue.


