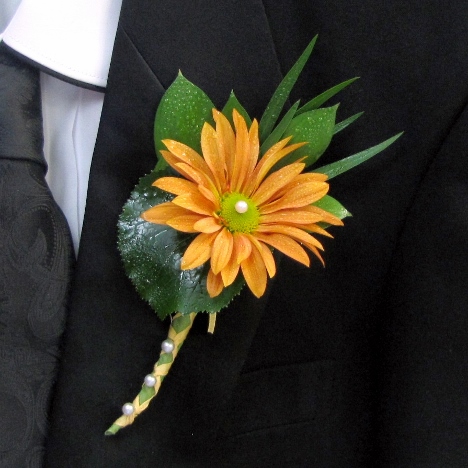
Boutonniere stem
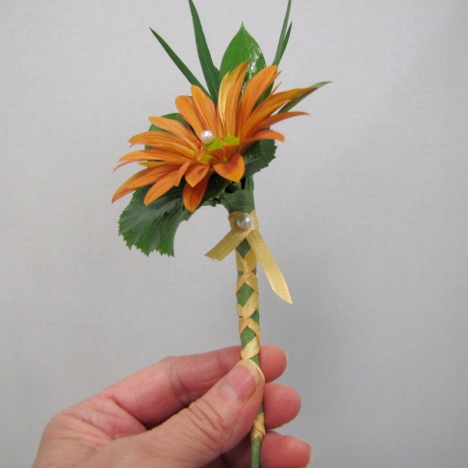
To add the glamor of pearls, you'll need to shorten some standard 2" pins. I push the first shortened pin into the center of the daisy itself. This helps conceal any notice of the hooked wire that you used to strengthened the boutonniere stem with.
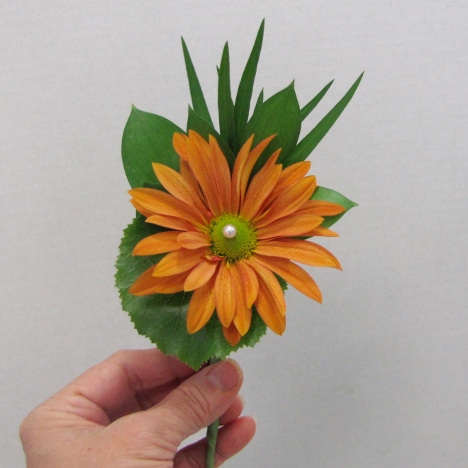
I'm now going to use some more pins down the stem instead of cutting or curling it up in the traditional manner. But first - I'm going to decorate the stem with a narrow satin ribbon by doing a fast french braid down the stem.
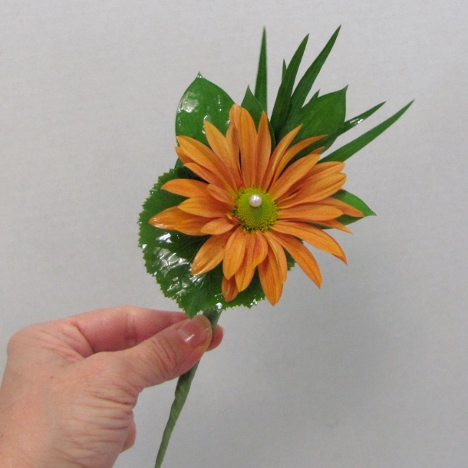
French braiding a bridal bouquet hand or boutonniere stem is fairly simple. It's really not so much of a braid as a wrap and a twist.
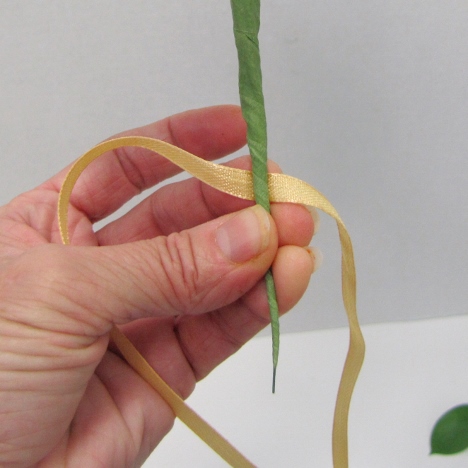
Using narrow satin ribbon, pull the ribbon around the stem and then twist in the middle, sending the two sides of the ribbon into the opposite direction.
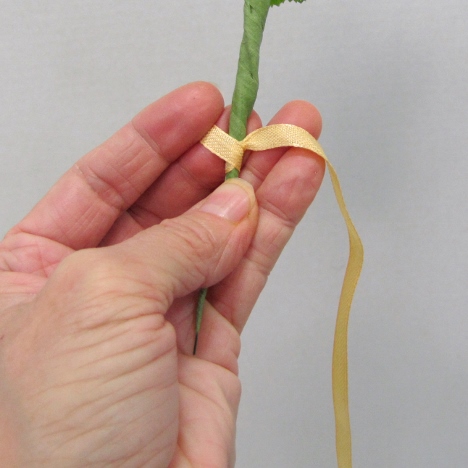
Pull the ribbon behind the stem. You can twist in the back as well, or simple pull around to the front for another twist.
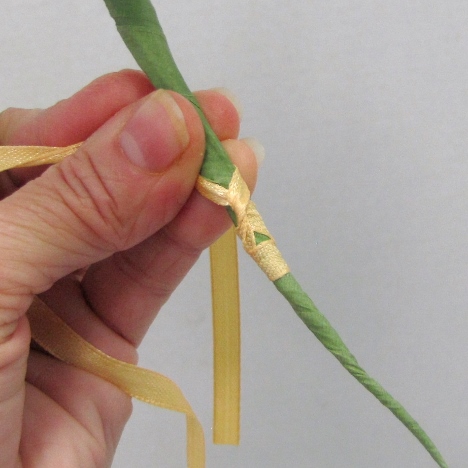
Keep moving up the stem, allowing what is underneath to show.
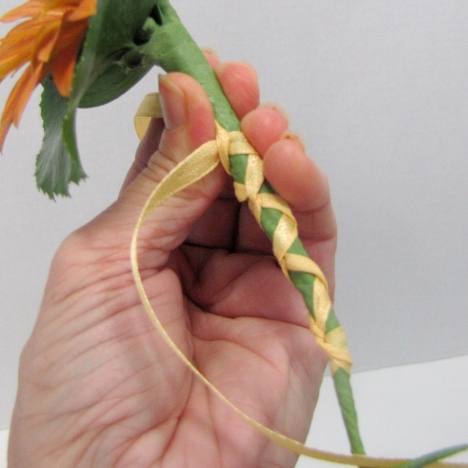
Once I reached the top, I pinned the end into place with a shortened corsage pin, pushing upwards into the green tape so no sharp points come through the back.
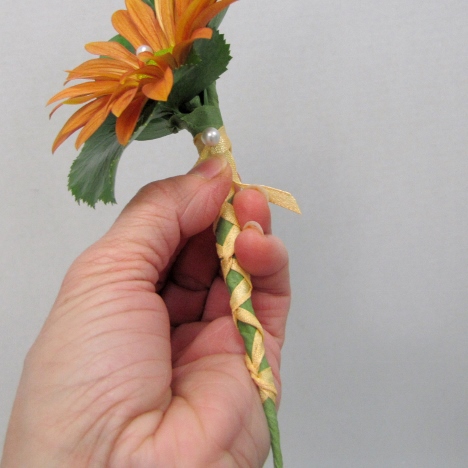
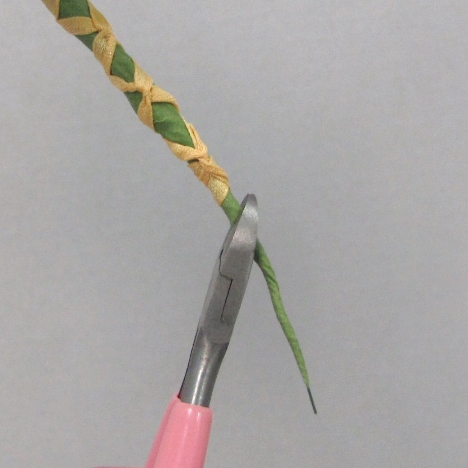
I simply cut each end off with sharp shears with a diagonal cut.
I snip off the bottom of the wire, making sure the cut ends are covered with corsage tape.
I then began pushing shortened pins upward at each twist of the ribbon.
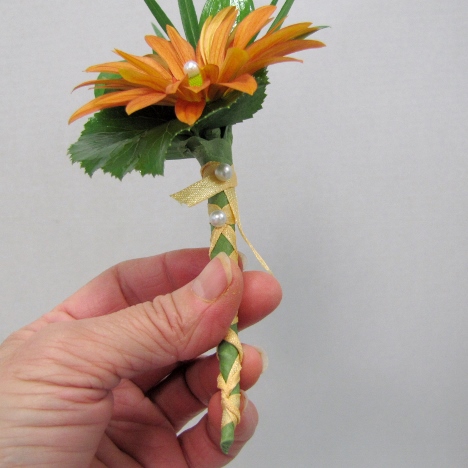
This provides a decorative pearl accent and also helps keep the ribbon firmly in place.
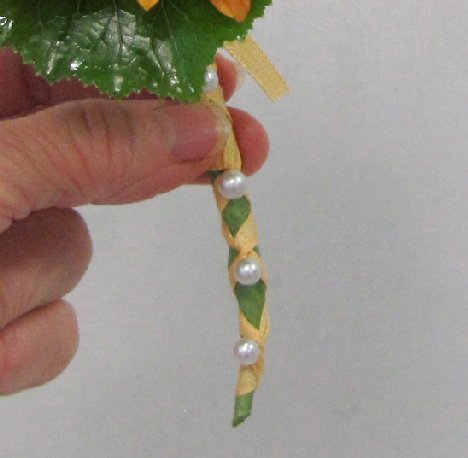
Although it looks complicated, this lovely boutonniere is very elegant but (shhhhh!) very economical at the same time! Yet you would pay a high price at a shop because of the mixed greens and the ribbon and pearl accents.
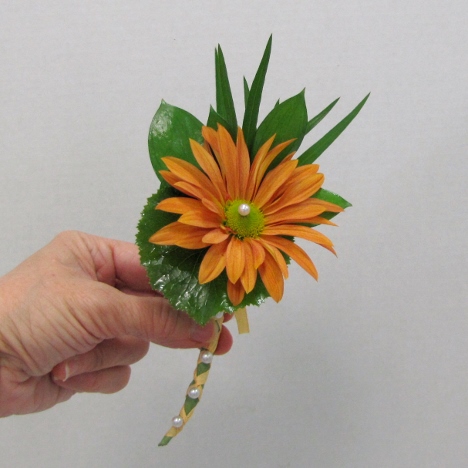
Mist all your finished wedding work with a flower sealant such as Finishing Touch. Let dry before refrigerating. This lovely flower can act as either a boutonniere or a shoulder corsage.
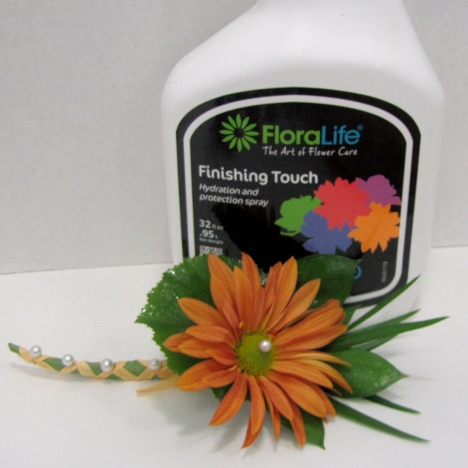
You will have beautiful boutonnieres that would look elegant at any black tie event and at the most sophisticated of weddings!
