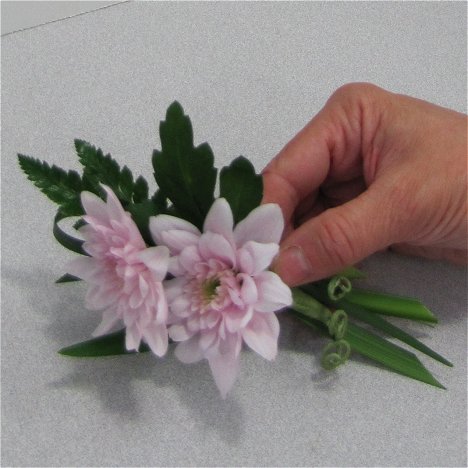
boutonniere loops
I like to use decorative grass loops in my boutonniere designs. All the stems should be bound tightly together and not move. or have large gaps between them.
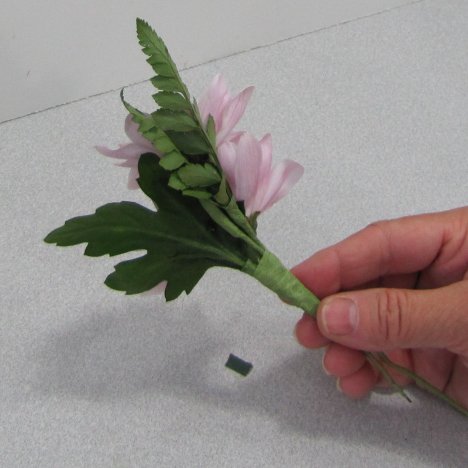
Now you are ready to move on and add another interesting design element using decorative grass to your basic flower boutonniere.
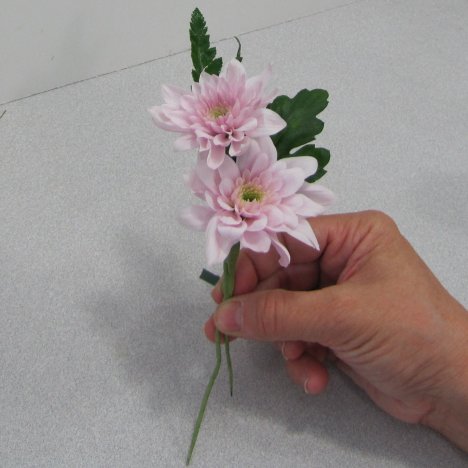
I love using decorative grasses when making boutonnieres. The graceful lines add a lot of visual interest. Bear grass is thinner and more slender. Lily grass (shown below) has wider and stiffer blades with a smooth, deep green finish.
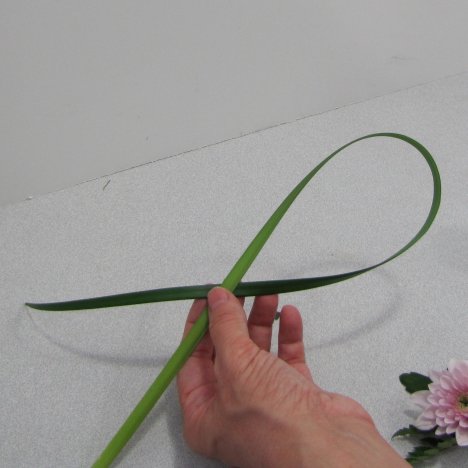
Decide how big a loop you want to place behind the two flowers.
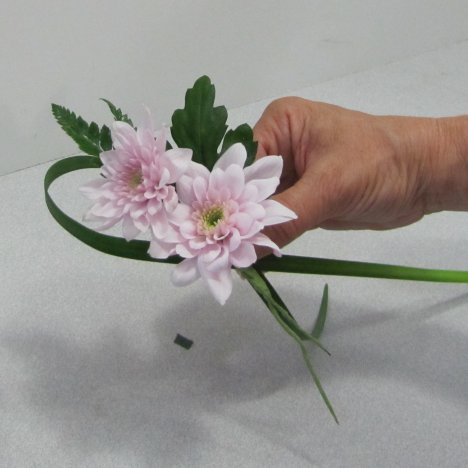
I'm going to go with a tighter, more closed loop so that the finished design will not go off the tux lapel.
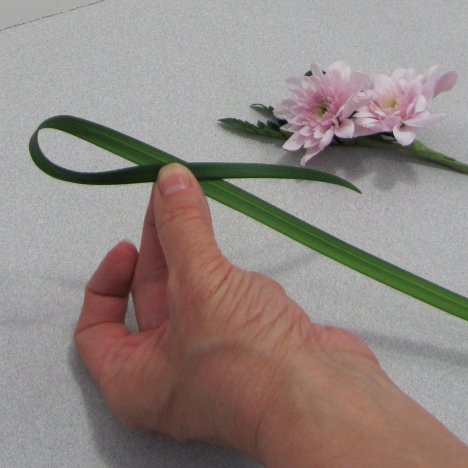
DIY brides are sometimes surprised to learn that florists use basic tools like office staplers to secure greenery and leaves into place.
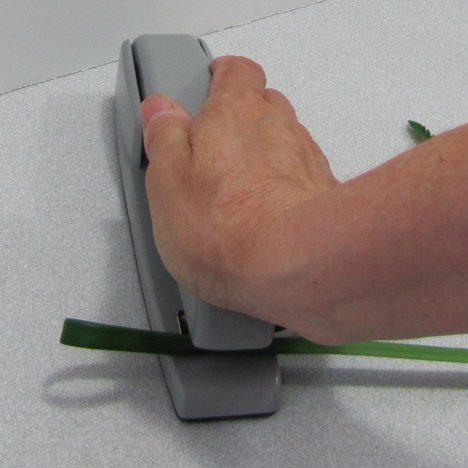
A single staple secures the grass into a permanent loop that can be taped behind the assembled boutonniere.
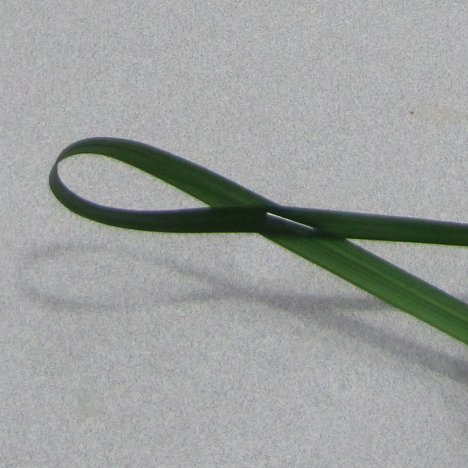
You can see by taping the stapled lily grass loop into place how the boutonniere is beginning to fill out and take on a much more interesting design.
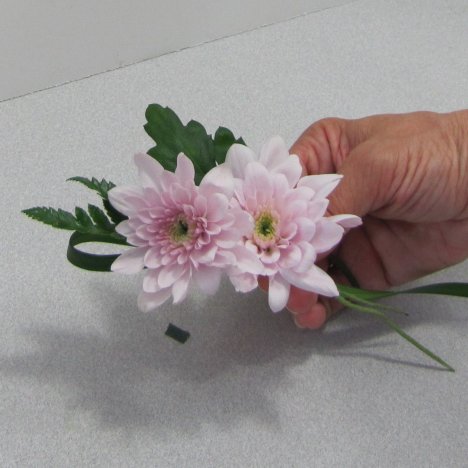
Both the loop of the grass AND the stems protruding from below add to the design elements. Using florist shears, snip the blade ends off at a sharp angle.
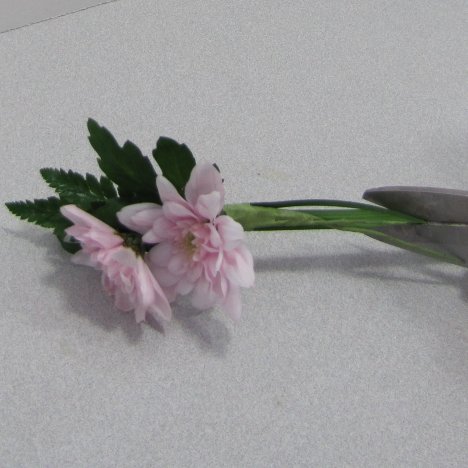
I'm now adding another blade of lily grass, cut short but not looped like the first. See how the tip shows just above the left side of the top bloom and comes out the bottom of the boutonniere.
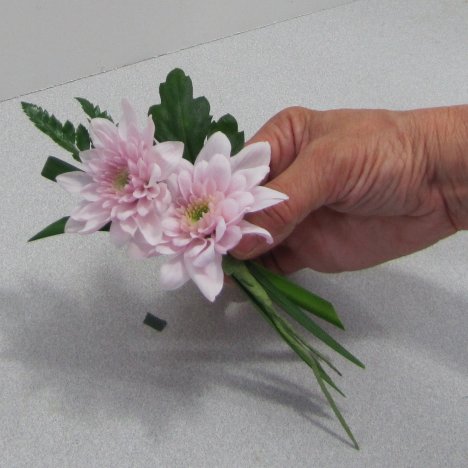
This blade is flexible and is taped into place using a piece of florist tape.
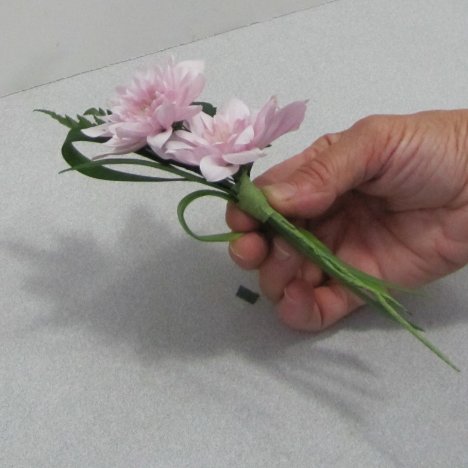
I'm going to finish the greenery by adding one more short cut grass piece diagonally across the back of the boutonniere. Again, I've cut the at an angle both at the top and and the bottom.
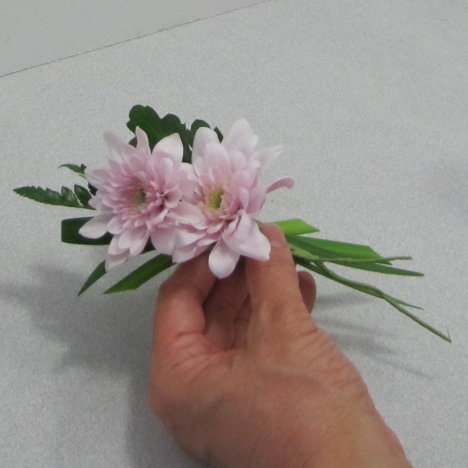
Tape this short grass securely in place behind all the other greenery.
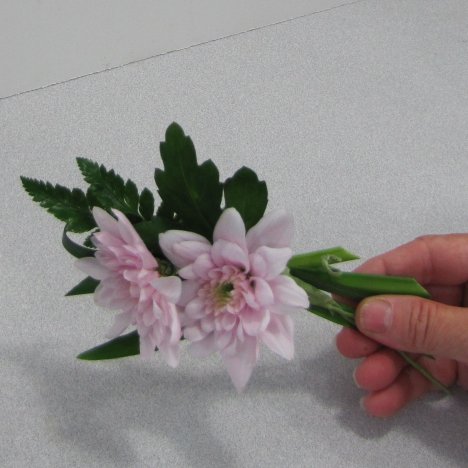
As a final finish to the bottom wired stems, curl them up tightly using needle nose pliers.
